The North Face Stormbreak 2 Review (Bought & Tested!)
This is my review of The North Face Stormbreak 2 (after buying it with my own money – hint: not sponsored – and testing it for weeks).
This page contains affiliate links, and that means that I may earn a commission if you buy something, at no extra cost to you. You can find my full disclosure policy here.
Quick Summary
If you’re looking for a budget 2-person tent in the budget range of about $200, The North Face Stormbreak 2 is easily the best one I’ve tested so far.
It’s affordable, spacious, well waterproofed, good quality, and has no serious cons.
RELATED: Best Budget Backpacking Tents, Best Tents Under $200
If you enjoyed this video, please consider subscribing to my YouTube channel here:
Check out The North Face Stormbreak 2:
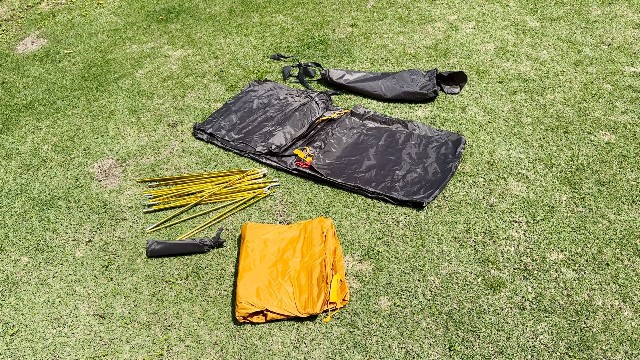
1. In the Box
Out of the box, this is what I got:
- Carry bag
- Tent body
- Tent poles x 4 (2 long, 2 short)
- Stakes x 10
- Rainfly (with pre-attached guylines)
- Instructions
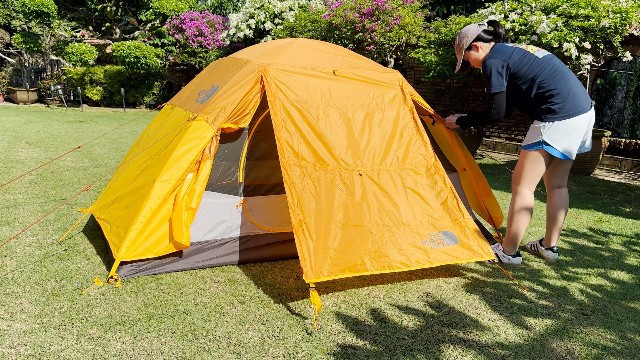
2. Set Up & Pack Away
This is the gist of the entire setup process:
- Lay tent body on the ground.
- Secure the 2 long poles into the 4 corner grommets.
- Secure the first 9 pole clips.
- Place the 2 short poles above the long poles, and secure with remaining 4 grommets and 4 pole clips at the top of the tent.
- Secure rainfly with grommets to all 4 poles.
- Stake down the 4 corners, both vestibules (2 stakes each), the 2 widths, and guy-out the 4 guylines.
Pro-Tip: Only 10 stakes were provided, but 14 were needed.
For more details, I have a separate video to help you set up your tent more easily:
Altogether, the entire setup takes about 7.5 minutes, while the pack away takes 7.75 minutes.
The carry bag was a little on the small side, so squeezing everything in took slightly longer.
3. Peak Height
The peak height at the center of the Stormbreak 2 comes in at about 43 inches.
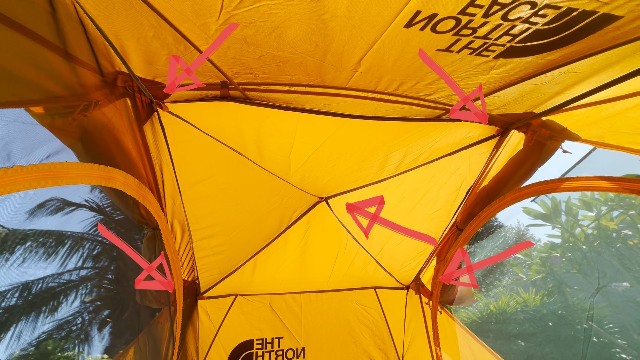
And thanks to the 2 short poles that go at the top of the tent, we have an extended peak height of about ~40 inches throughout most of the tent.

4. Base Area
For the inner base area, here are all the dimensions:
- Length: 87.5 inches
- Width: 49.5 inches
- Inner base area: 30.0 square feet
5. Pad Sizing
My Exped MegaMat Duo (the size of 2 regular pads) fits perfectly into the Stormbreak 2, with a bit of leftover space on the floor.

If you want to fit wider 25-inch pads, it’ll be a very, very snug fit, all the way to the edges of the tent.
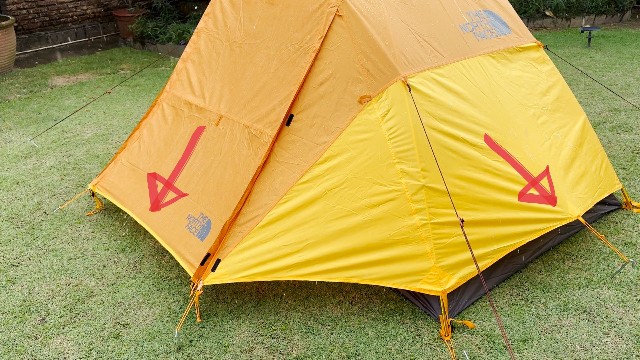
6. Vestibules
The Stormbreak 2 comes with 2 vestibules, one at each length of the tent, and here are the measurements you might need:
- Shape: Trapezium
- Shorter length: 41.5in
- Longer length: 87.5in
- Width: 23.5in
- Area of 1 vestibule: 10.53 sq. ft.
- Area of both vestibules: 21.06 sq. ft.
One great thing about the vestibules is that there’s loads of different configurations to it:
- Fully closed
- Center opened
- Center half opened
- Sides opened
- Fully opened
As for the vestibule zippers, there are 2 zippers for each zipper track, and they’re good quality SBS-branded zippers.
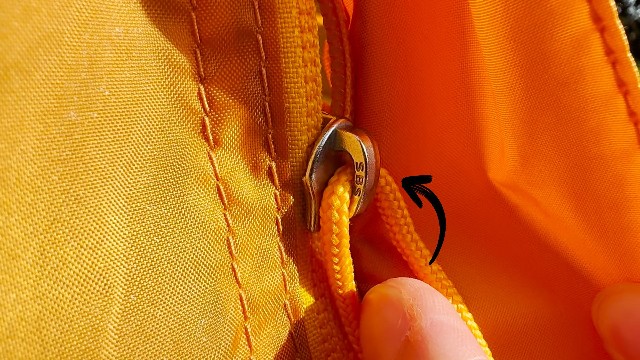
However, they were very snaggy, and often get caught on the rain flap.
Pro-Tip: To have a snag-free experience, use both hands – one hand to hold the vestibule fabric away, and the other to zip it up.
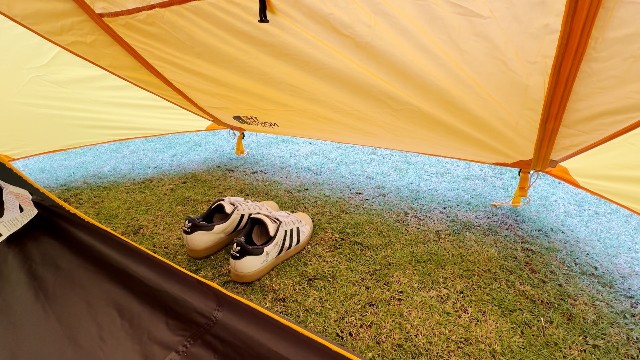
7. Doors
Under the vestibules, you’ll find the 2 doors of the tent.
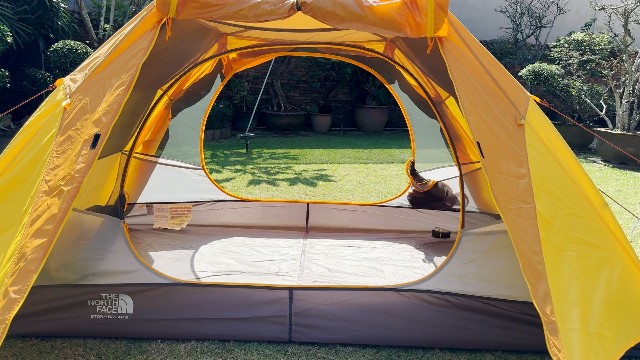
To keep the doors open, there’s a pocket beside each door, where you can stuff the door fabric into.
Each door has 2 zippers (these are the same SBS zippers as the vestibules), and there were no snagging issues at all.
8. Storage
For storage, there are 4 pockets in the tent, one at each corner, so they’re easily accessible from the outside, if you need to grab anything.
There’s also a total of 5 loops in the tent, these are all felt loops, which you can hang lanterns and fans up.
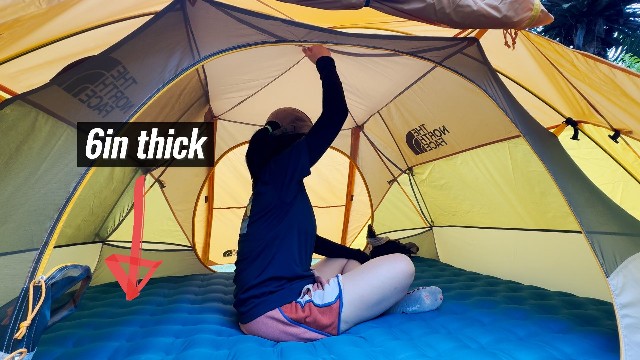
9. Tub Floor
The Stormbreak also has a tub floor that runs all around the entire tent.
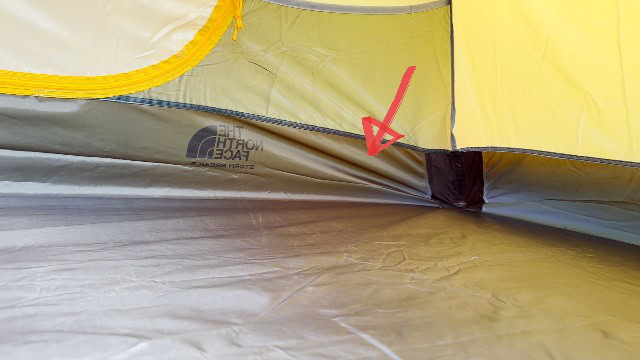
- Height of tub at lengths: 6in
- Height of tub at widths: 6.5in
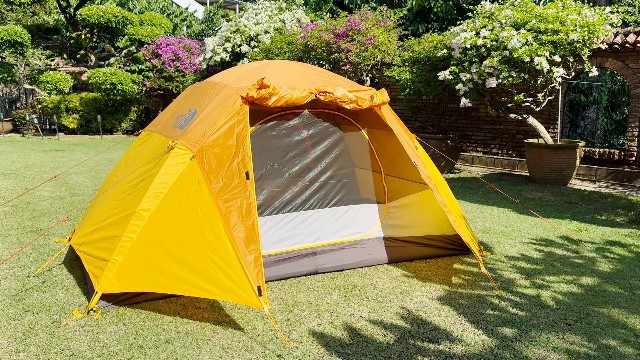
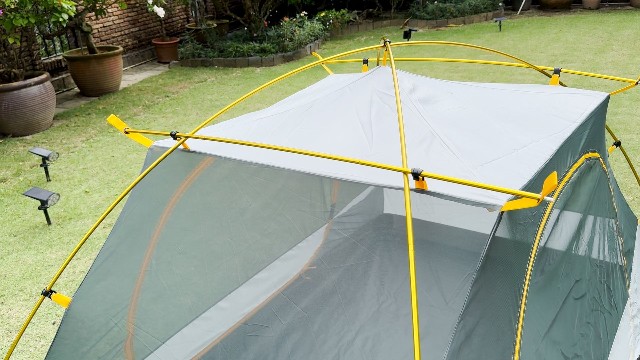
10. Rainfly
It also has a full-coverage rainfly, which extends almost all the way down to the ground.
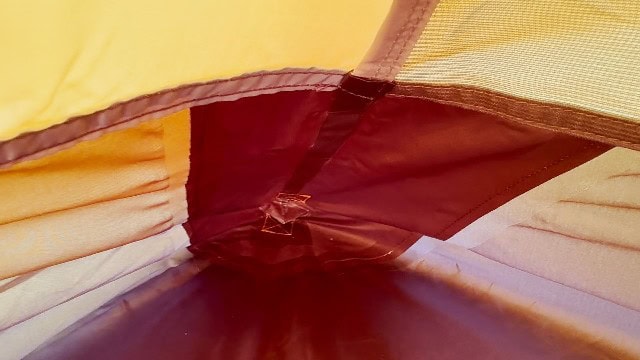
I really loved that apart from the vestibules at the front and back of the tent, the widths of the tent have an extra guy-out point where you can pull the rainfly away from the tent body.
11. Seam Taping
As for seam taping, the only seams in The North Face that were taped were the seams on the tub floor (corners and across-the-flooring seam).
Everything else above the tub floor isn’t taped.
As for the rainfly, every single seam was taped perfectly.
12. Rain Tests
I put The North Face Stormbreak through several rain tests:
- 2 hours moderate rain: No leaks
- 1 hour heavy rain: No leaks
Here’s the full rain test if you need more info:
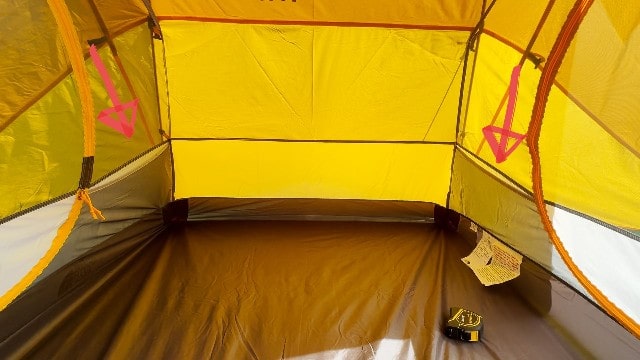
13. Amount of Mesh
Without the rainfly, the Stormbreak has about 50% mesh, and 50% fabric.
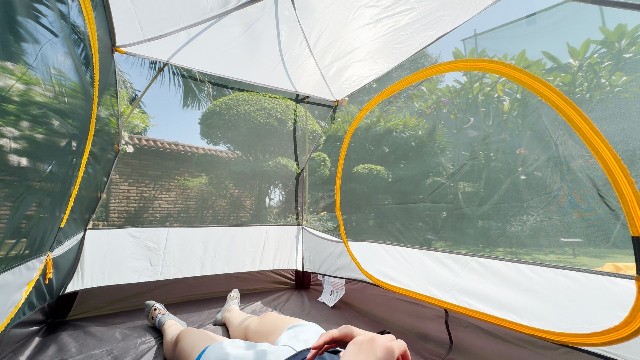
Note: This isn’t the most for summer use (some tents can go up to 80%), but still can be used as a summer tent.
It’s not too bad when it comes to looking at views, but because of the white fabric square up top (see above picture), it kind of blocks your view when stargazing.
14. Materials
Here are all the materials of The North Face Stormbreak 2:
- Flooring: 75D polyester taffeta (3,000mm PU coating)
- Rainfly: 75D polyester taffeta (1,200mm PU coating)
- Tent body/canopy: 75D polyester taffeta
- Poles: DAC aluminum
- Mesh: 40D polyester micro mesh
- Guylines: Shockcord
- Stakes: Shepherd-hook steel
- Carry bag: Polyester
15. Portability
Here are the packed dimensions of the Stormbreak 2:
- Packed size: 20 x 7 x 6.5 inches
- Pole length: 17.8 inches
As for weight, here’s a breakdown of all the components:
- Poles: 21.6oz
- Stakes: 9.0 oz (for 10)
- Rainfly: 36.1oz
- Tent body: 32.2oz
- Carry bag: 1.5oz
- Total weight: 100.4oz/6.28lbs/2.85kg
16. Pros, Cons, Recommendations
Now, what are the pros and cons, and would I recommend The North Face Stormbreak 2?
Pro #1: Very affordable
For pros, I thought that this was incredibly affordable for a North Face tent; this is their least expensive tent.
Pro #2: Lifetime warranty
And of course, this also comes with The North Face’s limited lifetime warranty.
Pro #3: Good waterproofing
The North Face’s waterproofing tends to be good, and this Stormbreak is no exception, it lasted hours of heavy rain no problem at all.
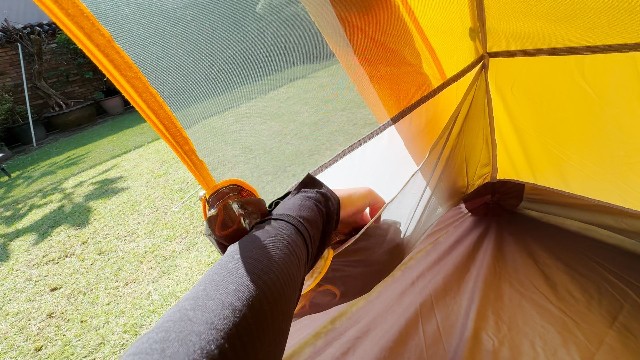
Pro #4: User-friendly doors
- Huge-mouth opening
- Snag-free zipping
- Easy-to-use door pockets
- Zips/unzips in 3 seconds, tops
Pro #5: Fantastic livable space
The peak height is quite high as well, plus it has 4 poles supporting the inner tent; it feels very spacious inside.
Pro #6: Bigger than average base area
On top of that, the vestibules are bigger than your average 2-person tent.
Pro #7: Cool vestibules
I also loved that the vestibules come with 5 different configurations, but here’s where we get into the cons.
Con #1: Snaggy vestibule zippers
Unfortunately, probably the biggest con is that the vestibule zippers are quite annoying. However, it becomes less of a big deal if you use both hands. (No one-handed zipping though!)
Con #2: No rainfly vents
The second con is that there are no rainfly vents in this tent. (An average 2-person tent would usually have 2 vents.)
Con #3: A bit on the heavier side
And also the weight of the tent is a bit heavier than the marketed specs of 5lbs 5oz (2410g), so obviously this is not meant for ultralight backpacking trips.
Overall Recommendation
But if these cons don’t bother you much, then honestly The North Face Stormbreak 2 is easily one of the best budget tents I’ve ever used, complete with loads of space, good waterproofing and great features, and I would highly recommend it.
17. Bonus – MUST Read!
I know this because I tested the Stormbreak against other budget backpacking tents right here.
Otherwise, check out The North Face Stormbreak 2: