Budget backpacking tents · Review
Nemo Aurora 2 Tent Review (Bought & Tested!)
I bought this tent with my own money and put it through 12 hands-on tests.
- Setup 7.75 min
- Peak 42in
- Inner area 29.4 sq ft
- Vestibule 19.6 sq ft
This page contains affiliate links, and that means that I may earn a commission if you buy something, at no extra cost to you. You can find my full disclosure policy here.
Test scorecard · scored against budget backpacking tents
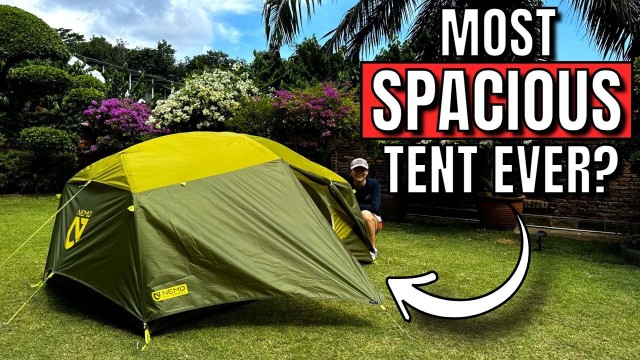
If you’re looking for a spacious and lightweight 2-person tent, the Nemo Aurora 2 is no doubt the best tent for you; it doesn’t even have any deal-breaking cons.
- 4 vertical walls
- Great peak height
- Great in rain
- Comes with footprint
- Lifetime warranty
- Taller profile is vulnerable against winds
- One-way zippers
If you prefer watching to reading, check out my video here instead.
See the 12 tests
In the Box
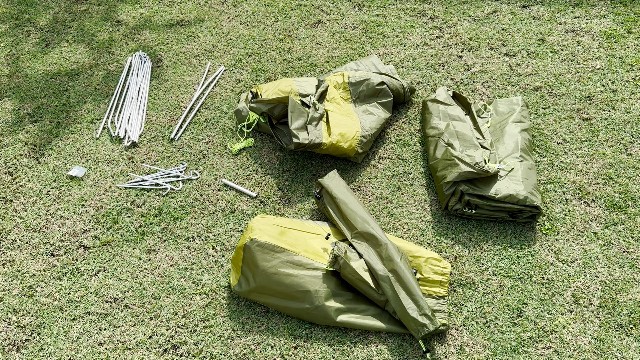
Out of the box, this is what I got:
- Tent body
- Footprint
- Rainfly
- Tent poles × 2 (1 hubbed, 1 ridge)
- Stakes × 8
- Pole repair splint
- Patch kit
- Carry bag, with pre-attached set-up instructions
Set Up & Pack Away
- Set-up time (1 person) 7.75 min
- Pack away 6.75 minthe carry bag has ample space, so everything fits back in easily
This is the gist of the entire set-up process:
- Lay out the footprint and tent body.
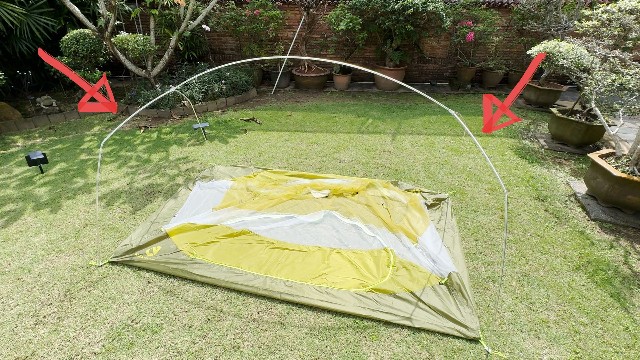
- Attach the hubbed pole to the grommets of both the footprint and the tent body.
- Secure all 12 pole clips.
- Add the ridge pole above the hubbed pole (2 extra grommets, 2 extra pole clips).
- Secure the rainfly to the tent via grommets.
- Stake the whole tent down (2 vestibules, 4 corners, 6 guylines).
Want the full step-by-step? Watch my Aurora 2 set-up walkthrough on YouTube.
Peak Height
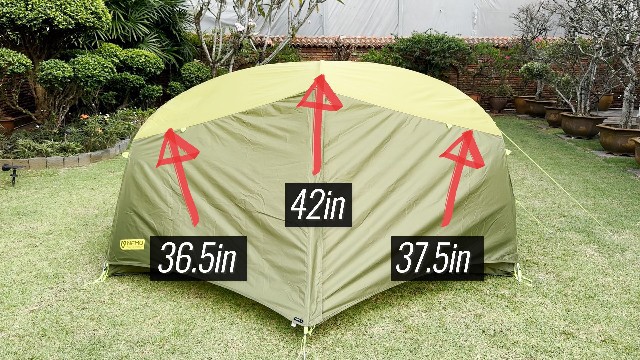
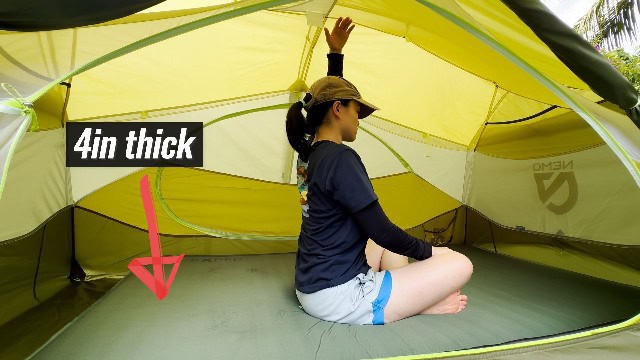
- Peak height 42in
- Height at the left 39.0in
- Height at the back / front 37.5in
- Height at the right 36.5in
Livable Space
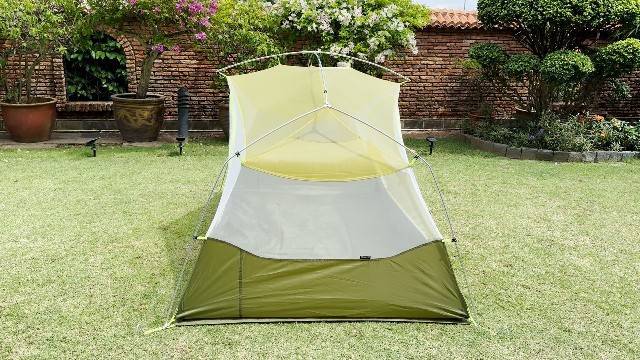
That livable space comes from the 2-pole structure. The hubbed pole creates almost vertical walls on the left and the right, and the ridge pole at the top pulls the tent body up at the front and the back for another 2 vertical walls.
Base Area
- Floor 85.5 × 49.5in
- Inner base area 29.4 sq ft
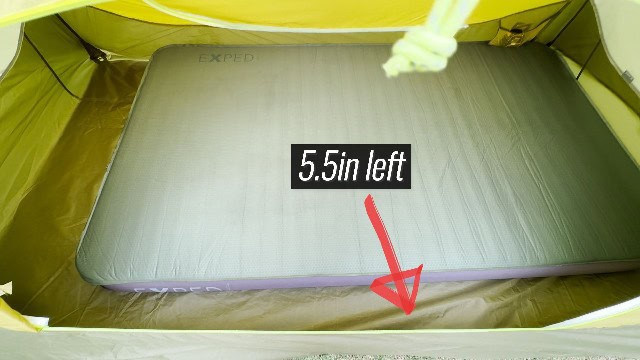
Wider 25-inch pads will be a very, very snug fit, right to the edges of the tent. Anything wider than that (like a queen bed) won’t fit at all.
Vestibules
- Vestibules 2 (33in wide)
- Area 9.8 sq ft each, 19.6 sq ft for both
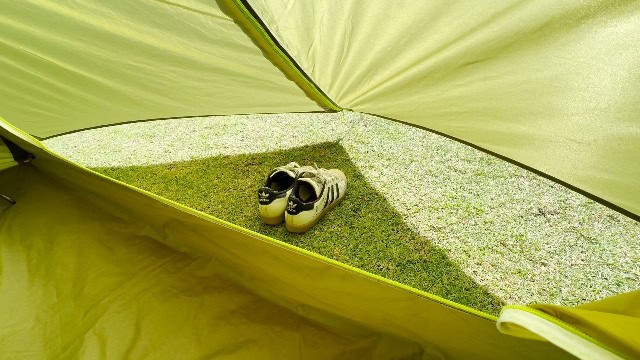
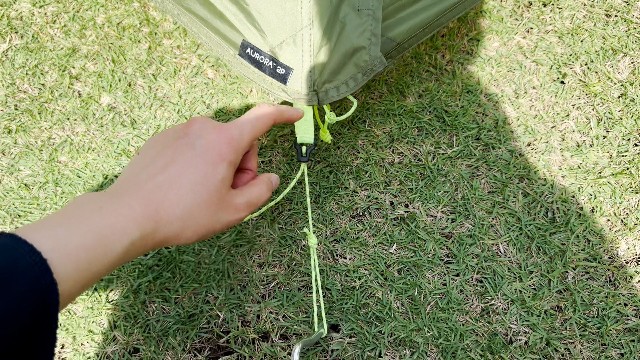
- Stake-downs 1 per vestibuleso I can stake the left panel and leave the right open
Doors
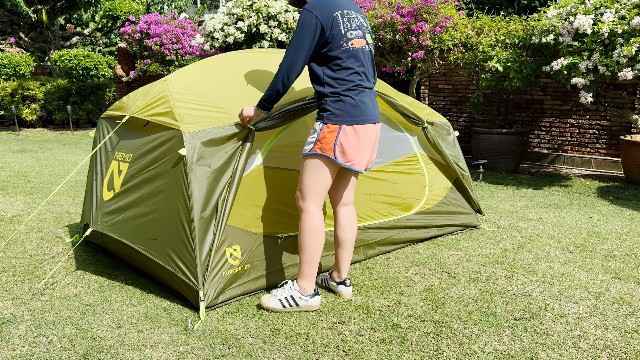
- Doors 2one under each vestibule
- Door size 54 × 27inat least 20% bigger than most tents this size
- Zippers 1 per door, 1 per vestibuleunbranded, but the zipping experience was good
Storage
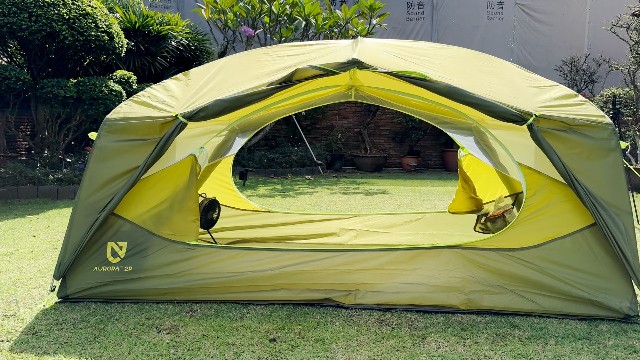
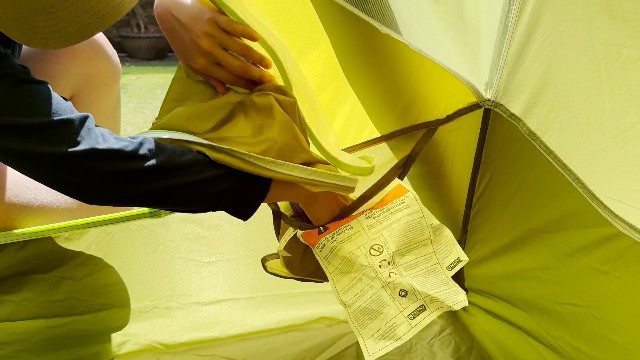
- Pockets 42 door pockets (8 × 6in) + 2 near the top (20 × 7in)
- Loops 2at the top of the tent
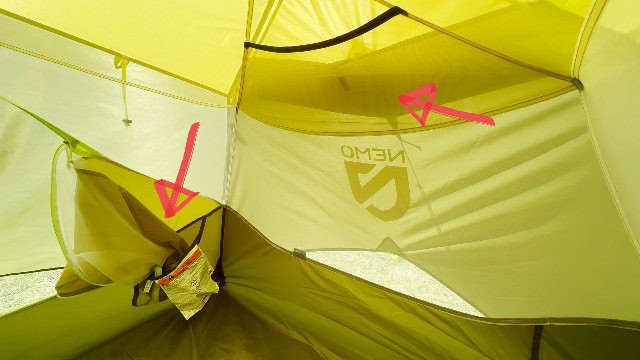
Note The newer version of this tent comes with an overhead Nightlight Pocket, which diffuses the light from a headlamp. Mine doesn’t have it.
Ventilation
- Mesh ~55% of the tent body
- Vents 2one on each width, and I can reach them from inside through the door
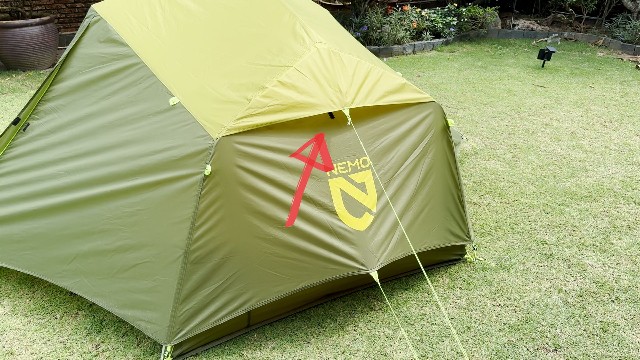
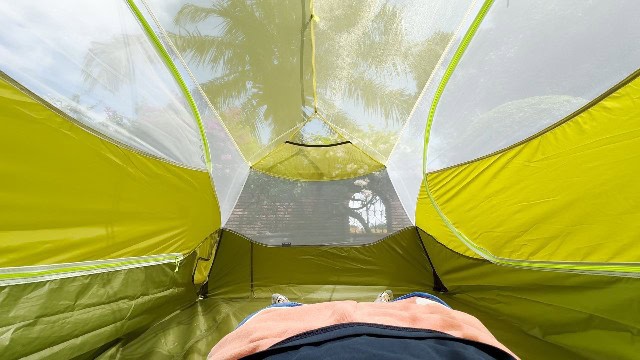
I do wish the mesh were a little more transparent and less colored. It really takes away from the views outside.
Note The newer version of this tent comes with a bit more mesh.
Rain Protection
- 1 hour heavy rain No leaksnot a single drop inside (no seam, tub floor, rainfly or vent leakage)
- Tub floor 9in at the lengths, 11in at the widths
- Seam taping Everything below the tub flooreverything above it’s covered by the rainfly anyway
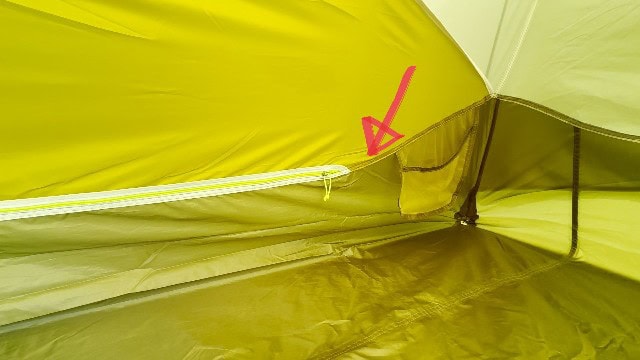
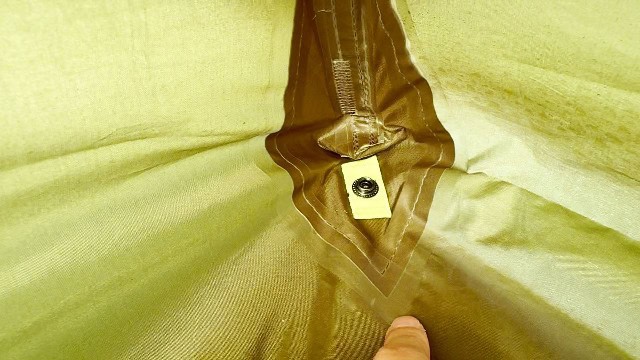
The rainfly is full coverage and extends almost all the way to the ground. On top of the vestibules at the lengths, the widths have an extra guy-out point to pull the rainfly away from the tent body.
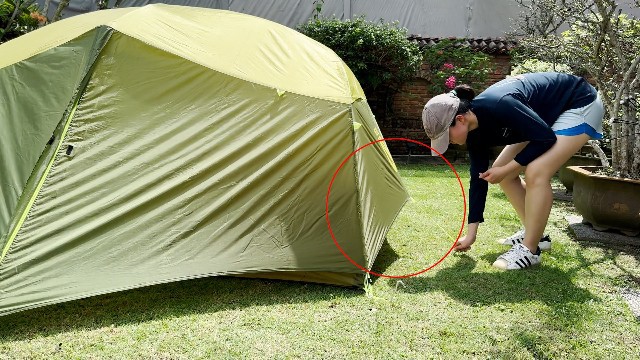
Want to see the water hitting it? Watch my full Aurora 2 rain test on YouTube.
Quality
- Flooring 75D polyester2,000mm PU
- Footprint 75D polyester2,000mm PU
- Rainfly 68D polyester2,000mm PU
- Canopy 68D polyester
- Poles Aluminum
- Mesh No-see-um
Portability
- Packed size 21.5 × 9.5 × 7.5in
- Packed length, poles separate 20.75in
- Total weight 5.44 lbs (87oz)
- Rainfly 26.6oz
- Tent body 26.0oz
- Poles 20.6oz
- Footprint 7.6oz
- Stakes (8) 4.7oz
- Carry bag 1.5oz
Pro Tip To go extra light, do the footprint-only set-up. That weighs 3.81 lbs.
Pros, Cons, Recommendations
Now, what are the pros and cons, and would I recommend this Nemo Aurora 2?
4 vertical walls
This is, without a doubt, the most spacious 2-person tent I’ve ever camped in, in my life. Most other good-quality 2-person tents, the Teton Mountain Ultra 2 among them, have 2 regular poles plus a ridge pole, giving them only 2 vertical walls; the Nemo has 4. I’ve never seen this in another 2-person tent before.
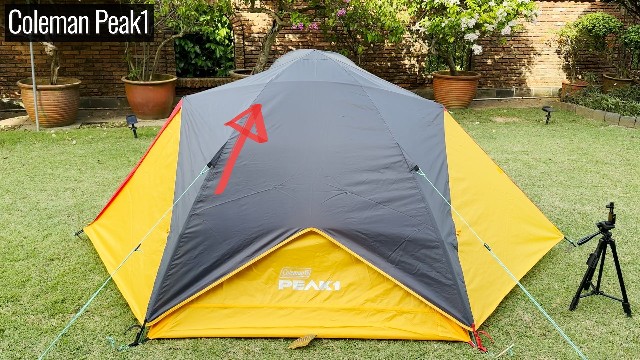
Nice peak height
And it also has a very generous peak height of 42in.
All-around ventilation
Ventilation in this tent is great as well, and I really loved that the rainfly can be guyed out at all sides.
Great cross-ventilation
And the doors in this tent are extra big too, so cross-ventilation beats other tents as well.
Great in rain
It’s not just ventilation that’s great; this Nemo is also great in the rain, complete with every single waterproof feature (vents, rainfly, waterproofing, tub floor) and a 2,000mm polyurethane coating.
Comes with footprint
The footprint also comes provided with the tent, which you don’t get with most tents out there.
Lifetime warranty
And you also get a lifetime warranty from NEMO Equipment.
Vulnerable against winds
With 4 very tall, vertical walls, this tent won’t take wind as well as other more dome-shaped tents.
One-way zippers
A smaller con is that the door and vestibule have only 1 zipper each, so you can’t crack the top of the door open for ventilation. Most tents come with 2 zippers each.
Overall recommendation
Overall, the pros definitely outweigh the cons, and if you’re looking for a very spacious tent, and you’re not going to be camping in crazy winds, this Nemo Aurora 2 is the perfect tent for you.
Bonus: Must Read!
If you’re undecided on this tent, and you need other options, check out my Best Budget Backpacking Tents article.
Or, check out the Nemo Aurora 2:
Every figure above is from my own testing. Measured by hand, bought with my own money.