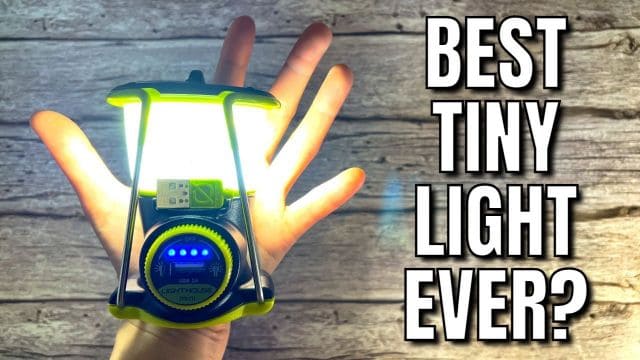
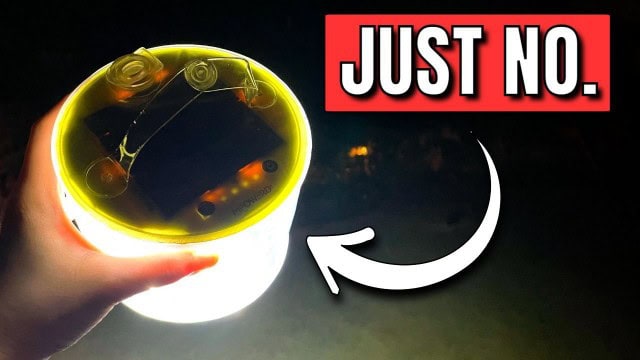
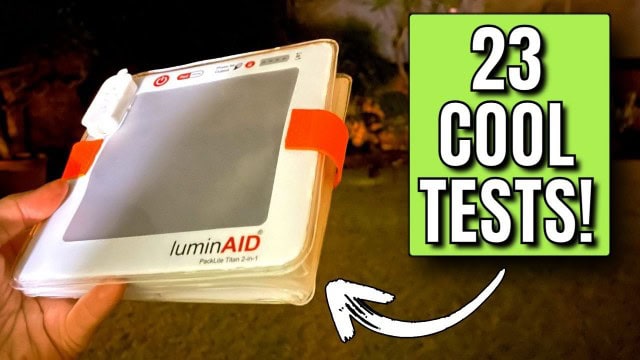
LuminAID PackLite Titan Review (Bought & Tested!)
This is my review of the LuminAID PackLite Titan 2-in-1 power lantern (yes it’s that lantern you’ve seen on Shark Tank). I put it through many different tests, all of which you’ll find below in this post.
This page contains affiliate links, and that means that I may earn a commission if you buy something, at no extra cost to you. You can find my full disclosure policy here.
Quick Summary
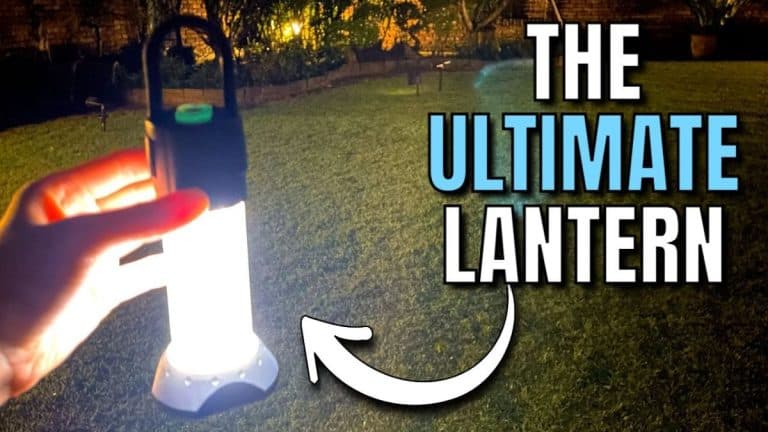
Overall, the USB and solar-powered PackLite Titan did fantastic in all the tests that I threw at it, and the incredible pros outweigh the few cons it has.
It’s easily one of the best solar camping lanterns out there for outdoor activities, and I would highly recommend it.
RELATED: Best Rechargeable LED Lanterns
If you enjoyed this video, please consider subscribing to my YouTube channel here:
Check out the LuminAID PackLite Titan:
- Quick Summary
- 1. In the Box
- 2. Inflation and Deflation
- 3. Power Button
- 4. Lighting Modes (including Red Light Mode)
- 5. Lumen Output
- 6. Run Times (Long Battery Life)
- 7. Shine Area
- 8. Light Quality
- 9. Charging Output (Phone Charger)
- 10. USB Input Charging
- 11. Solar Charging
- 12. Battery Level Lights
- 13. Velcro Strap
- 14. Waterproofing
- 15. Drop Testing
- 16. Portability
- 17. Pros, Cons, Recommendations
- 18. Bonus – MUST Read!
1. In the Box
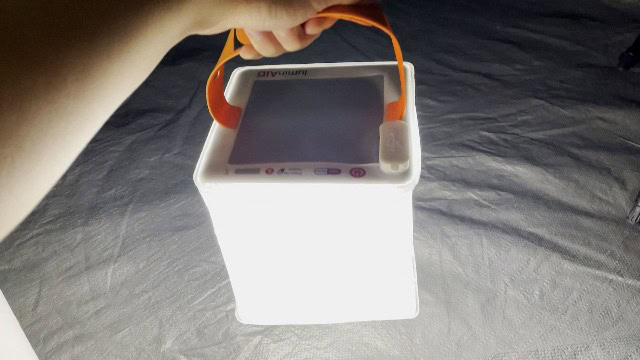
I bought this Titan brand new from REI, and here’s what it looks like when I first got it in the mail.
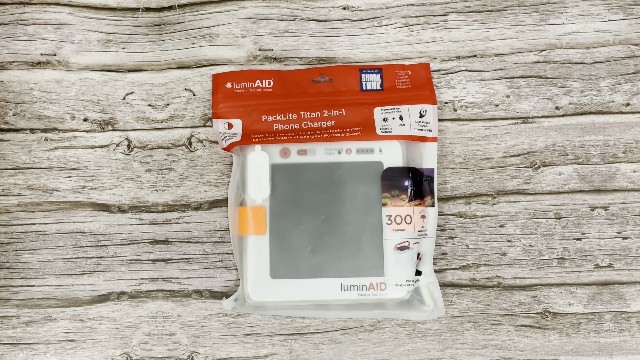
After unboxing, I got only the lantern plus some instructions.
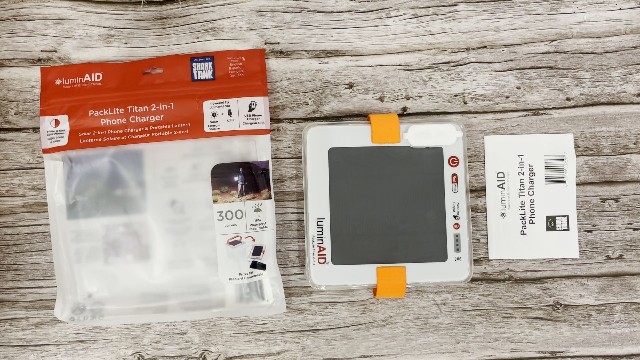
LuminAID had forgotten to give me the charging cable, but it’s non-proprietary anyway, so just feel free to use any substitute USB to micro-USB cable you have at home. (I also bought and tested the LuminAID PackLite Max, so I used the charger from there.)
2. Inflation and Deflation
To inflate the PackLite Titan, first unplug the valve at the bottom. Then, grab the base with one hand, grab the top with your other hand, and just pull apart with both hands, while twisting it about 90 degrees.
The lantern ‘pops up’ easily in just 2 seconds.
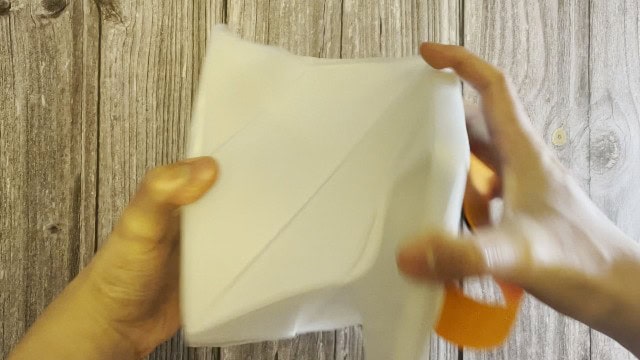
Deflation is just the opposite, use both hands to twist and compress, and it’ll pop back down in 2 seconds.
Take Note: Just make sure not that the air valve at the bottom isn’t covered up, because that’s where the air gets sucks in and pushed out.
3. Power Button
The power button on the Titan is for turning on and off the light, and also cycling through the different light modes.
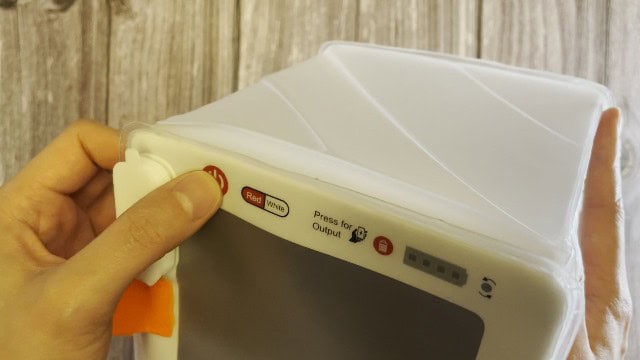
It’s flushed with the top of the lantern, which makes it difficult to locate in the dark. So, just take note that it’s beside the raised power port cap, so look for that first in the dark.
4. Lighting Modes (including Red Light Mode)
Here are the different light modes of the PackLite Titan:
Turbo (white/red)
High (white/red)
Medium (white/red)
Low (white/red)
SOS (white/red)
All five modes above apply for both the cool light mode, as well as the red light mode. There’s a button for each, so you can easily pick which color you want, no matter what mode you’re currently in:

The Titan doesn’t have a memory setting, so it can’t remember the last mode (turbo, high, etc.) you had on. You just have to cycle through them all to get to the brightness setting you want.
It does remember whether you had the white or red light mode on though, which is useful for preserving night vision.
5. Lumen Output
Now, what is the lumen output of each light mode? I used a lux meter to test the exact number of lumens for each setting, and here are my results:
| Light Mode | Official Specs | White (My Testing) | Red (My Testing) |
|---|---|---|---|
| Turbo | 300 lumens | 316 lumens | 21 lumens |
| High | 150 lumens | 191 lumens | 17 lumens |
| Medium | 75 lumens | 99 lumens | 7 lumens |
| Low | 10 lumens | 1 lumen | 0 lumens |
| SOS | 15 lumens | 1 lumen | 0 lumens |
6. Run Times (Long Battery Life)
Now, what about the run time/battery capacity of the PackLite Titan? Again, here are my tested results compared to the official specs:
| Light Mode | Official Specs | My Testing |
|---|---|---|
| Turbo (White) | 5 hours | 5 hours |
| Low (White) | 100 hours | 250 hours |
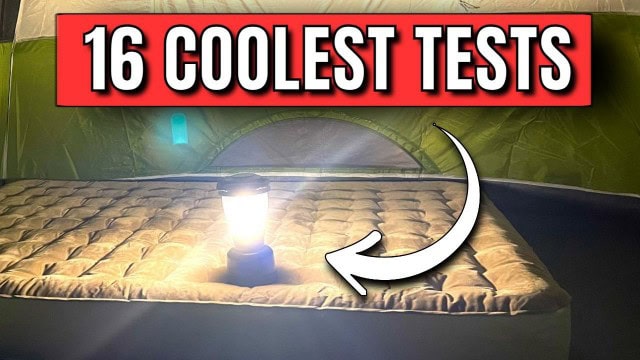
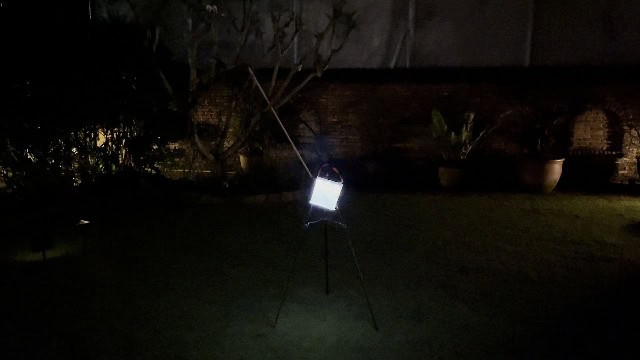
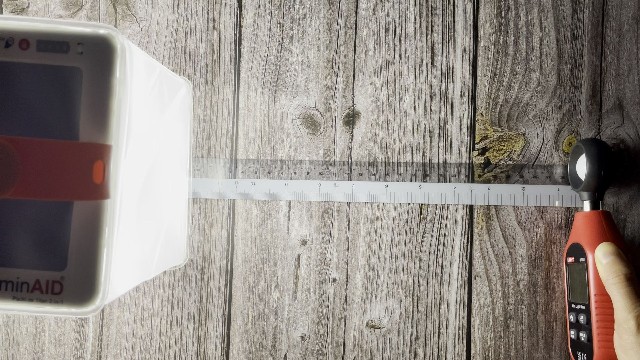
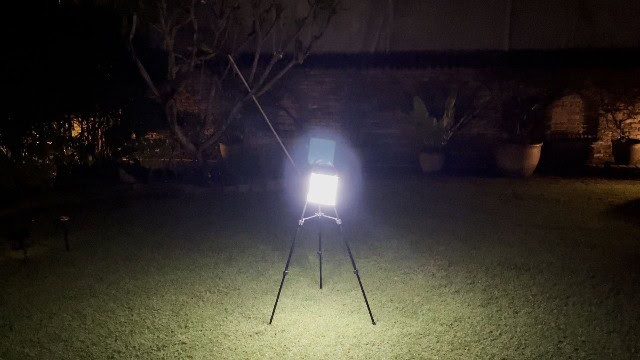
7. Shine Area
What about the shine area of the PackLite Titan? Again, I used my lux meter to test this out, and here are my results:
Shine radius: 8.2 feet or 2.5 meters
Shine area: 211 square feet
Tent size: 13-person tent
This is when the Titan is on its brightest white turbo mode, like so:
8. Light Quality
The light is a cool white, with a color temperature of between 5,900 to 6,500 Kelvin.
The outer globe is quite frosted, so it doesn’t feel like the LEDs are too glaring.
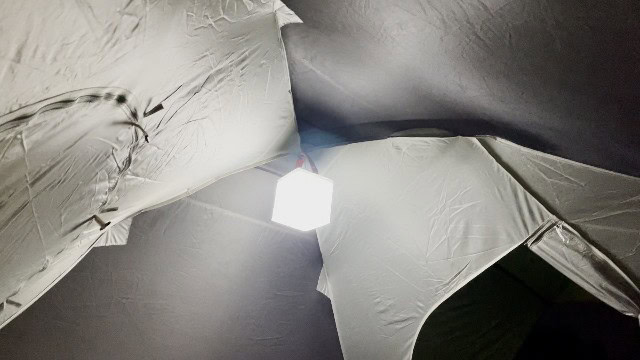
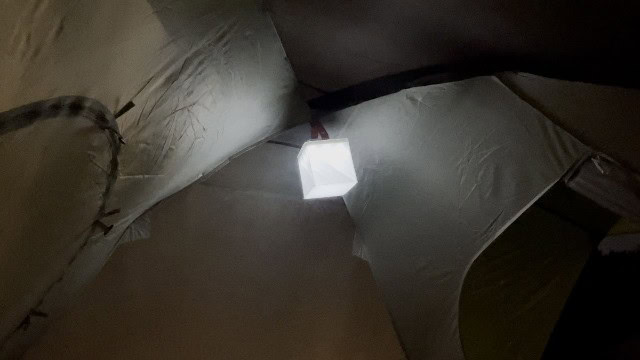
I typically use the bright white mode for functional group activities, and the red light mode for personal activities and winding down time at night. Overall, it’s perfect for camping trips.
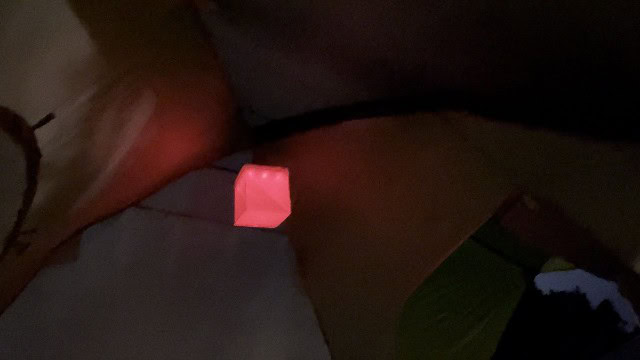
That’s because the white mode is 10x brighter than the red (yes I actually tested this).
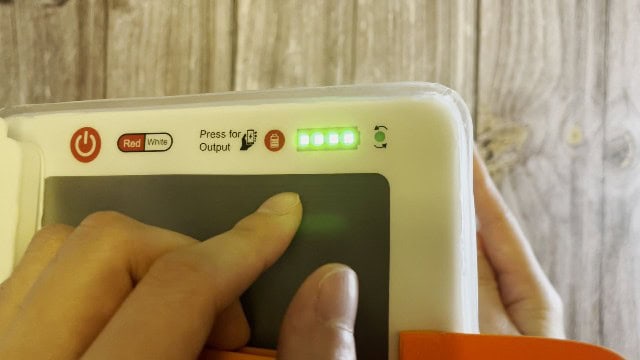
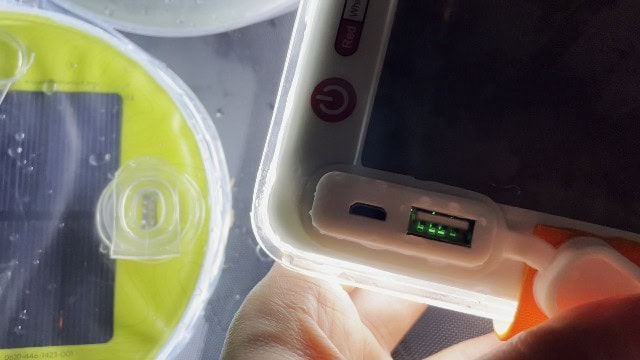
9. Charging Output (Phone Charger)
Inside the charging port, you’ll find 2 different ports – 1 is a regular USB, and the other is a micro-USB.

The regular USB is the charging output, which lets your Titan act as a phone charger for most phones and other devices. Simply plug in your phone cable, and press the button that says “Press for Output”.
It charged up my iPhone 12, and here are the detailed results:
Day 1 Charge: 17% to 97% (80%)
Day 2 Charge: 37% to 39% (2%)
Total Charge: 82% (1 full charge)
Time taken: ~2.5 hours
Leftover battery: 5-10% (15-30 mins on turbo, 10-25 hours on low)
The battery capacity of the Titan is 4,000 mAh, which gave me about 1 full charge of my phone, and a little leftover light. Pretty decent as a phone charger, but it’s not a super large battery.
10. USB Input Charging
The micro-USB port is for charging up the PackLite Titan, and it takes my Titan about 5 hours for a full charge every time.
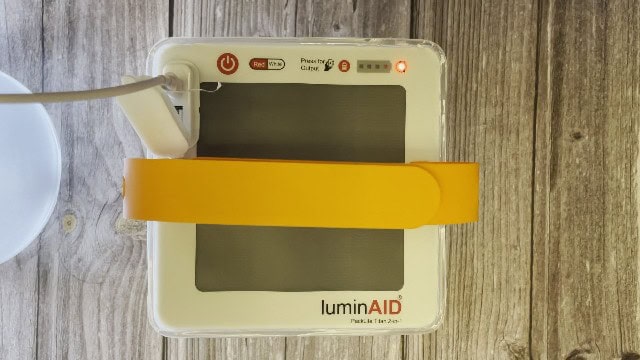
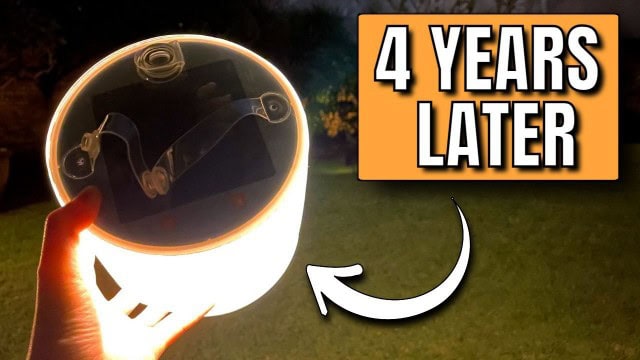
11. Solar Charging
Instead of USB charging, you can also charge the Titan via solar power, because it has a solar panel up top. This is great during a power outage, when you’re off-grid, or for solar camping.
However, this will take much longer than just 5 hours.
After 1 day of charging in the sun for a whole 12 hours (7AM to 7PM), I found that my Titan had only a 25% charge. That’s:
1.25 hours on the Turbo mode
60 hours on the Low mode
So, a full charge will take 3-5 days, depending on your weather conditions (direct sunlight would be best, cloudy conditions will delay charging).
12. Battery Level Lights
Pressing the “Press for Output” button (this is also the battery button) also shows you how much battery you have left, so between 1 bar to 4 bars.
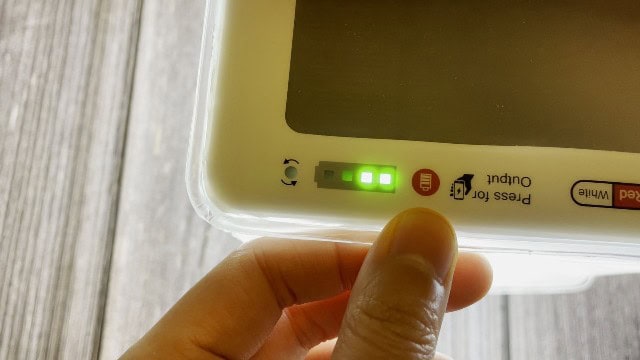
I thought the battery level lights were relatively accurate; here were my results from my low brightness run-time test:
4 lights: 100%
3 lights: 79%
2 lights: 43%
1 light: 15%
0 lights: 0%
It was incredibly non-useful in my charging test though. When it was completely drained, when I plugged it in, it went to 4 lights straightaway.
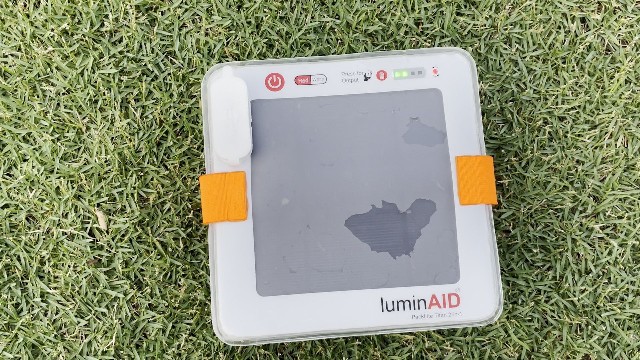
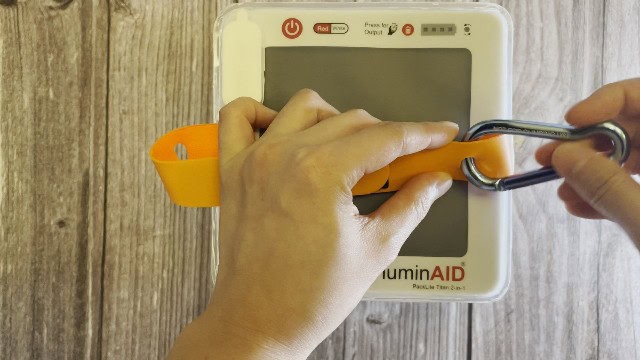
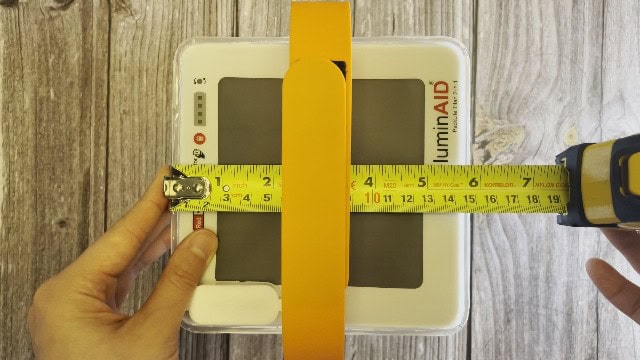
13. Velcro Strap
I like the orange Velcro strap of the Titan. It’s big, easy to carry around, and very user-friendly
The Velcro strap also has 2 carabiner loops on it, so you can use your personal carabiner to hang it up in your tent if you need to:
14. Waterproofing
As for the IPX rating of this Titan, that comes in at a rating of IP67. I think all LuminAID products have this same rating. This means that it can be submerged in water up to 1 meter, for up to 30 minutes.
So, I tested exactly this. I dunked the Titan in my pool for a full 30 minutes, completely submerged. It was really buoyant so I couldn’t get it to one meter deep:
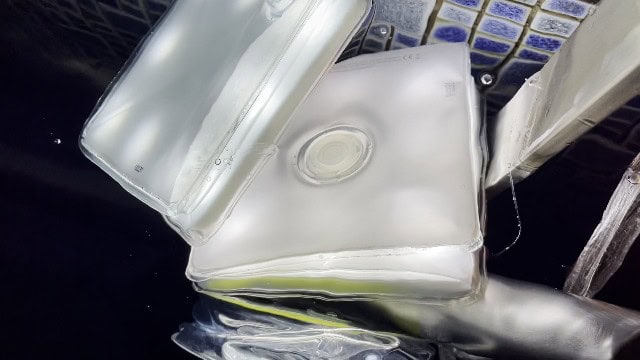
After the testing, it was still working great. I opened up the port and found water droplets all around the 2 ports, but nothing INSIDE the ports though.
I wouldn’t recommend dunking it for too long.
15. Drop Testing
I’ve dropped my Titan from hand height dozens of times, and even down some slopes, and it’s worked fine every single time.

16. Portability
My PackLite Titan weighs about 11.9 ounces or 338 grams.
The smallest packed size (when deflated) comes in at 5.75 x 5.75 x 1.1 inches, which is about 14.6 x 14.6 x 2.8 centimeters. Very compact for such a great light.
17. Pros, Cons, Recommendations
Note: If you’re wondering how this PackLite Titan compares to the lower-priced Max, I’ll link a comprehensive summary here.
Pro 1: No breath needed for inflation
The twist to inflate design means that there’s no breath needed for inflation. Literally, just twist it 90 degrees to inflate, and it pops up in 2 seconds.
On the other hand, other solar lanterns that require breath for inflation take between 10-15 seconds instead.
Pro 2: Puncture proof
And unlike other solar lanterns that will no longer inflate when punctured, this Titan doesn’t have that same problem (again, thanks to the twist to inflate design).
Pro 3: Loads of light modes
The next humongous pro to this Titan is that it has a boatload of light modes – 5 white and 5 red.
Not many solar lanterns have red lights; this is perfect for night vision without blinding yourself.
Pro 4: Very long run-time
Another big pro I found with the Titan is its super impressive run-time. Look at how its longest run-time compares to the longest run-time of my other solar lanterns:
PackLite Titan: 250 hours
BioLite Luci 360: 54 hours
BioLite Luci Original: 50 hours
PackLite Max: 39 hours
This is perfect for extended camping trips, and is one of the most power-packed LuminAID lanterns out there.
Pro 5: Huge lighting area
The Titan also has double the lighting area of your average solar lantern, and can light up even a 13-person tent on the brightest setting:
| Solar Lantern | Shine Radius | Lighting Area |
|---|---|---|
| PackLite Titan | 8.2 feet | 211 sq. ft. |
| PackLite Max | 6.0 feet | 113 sq. ft. |
| BioLite Luci 360 | 6.0 feet | 113 sq. ft. |
| BioLite Luci Original | 2.2 feet | 15 sq. ft. |
Pro 6: Bigger than average solar panel
And the Titan also charges faster than your average solar lantern, thanks to the bigger than average solar panel. I measured them all, and here are the results:
PackLite Titan: 4.0 x 4.0 inches
BioLite Luci 360: 3.5 x 3.5 inches
PackLite Max: 3.1 x 3.1 inches
BioLite Luci Original: 2.9 x 2.9 inches
This is perfect in a pinch during power outages or when going off-grid; it’s also a great addition to your emergency kit for storm season.
Con 1: 1-year warranty
However, I noticed that the warranty is very short, coming in at 1 year. Somehow, all solar lantern brands (like these LuminAID lights) only give a 1-year warranty, which I feel could be more generous.
Recommendation
But overall, I really do believe that the pros do outweigh the cons very, very much, and I think the PackLite Titan 2-in-1 power lantern is easily one of the best solar camping lanterns and a must-have for any emergency kit.
18. Bonus – MUST Read!
To find out how it compares to the best rechargeable camping lantern, check out this blog post right here. (If you want me to review other LuminAID lanterns, feel free to reach out on my YouTube channel too.)
Otherwise, check out the LuminAID PackLite Titan: