Camping percolators · Review
Primula Today Aluminum Percolator Review (Bought & Tested!)
I bought this percolator with my own money and put it through 9 hands-on tests.
- Model 9-cup
- Max capacity 6 cups
- Min capacity 4 cups
- Material Aluminum

This page contains affiliate links, and that means that I may earn a commission if you buy something, at no extra cost to you. You can find my full disclosure policy here.
Test scorecard
The Primula Today Aluminum Percolator is a lightweight and highly inexpensive metal percolator. Just bear in mind that it is nowhere near a 9-cup capacity — it’s more like a 6-cup — and the overall quality isn’t great. Basically, you get what you pay for.
- Lightweight metal
- Inexpensive
- Max capacity of 6 cups
- Quality isn’t the best
If you prefer watching to reading, check out my video here instead.
See the 9 tests
In the Box
It arrived in an Amazon box with a second cardboard box inside.
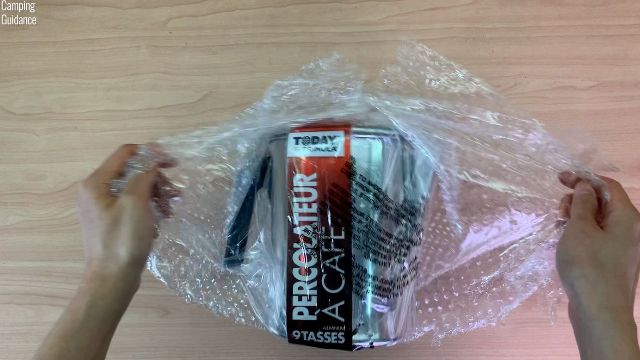
Here is everything that came in it:
- Aluminum coffee pot
- Lid with perking knob
- Filter basket
- Stem
- Spreader
- Instructions
Standard percolator stuff.
Specifications
These are my own measurements:
- Height to the perking knob 8.0in
- Length, handle to spout 8.0in
- Width 5.0in
- Weight 11.6ozThe lightest percolator I own
- Made in China
Official Instructions
Primula’s own method didn’t work for me, and it’s worth knowing why before you buy.
- Primula’s fill line The bottom of the lowest row of 3 holesI measured that at 46.5oz, about 7.5 cups
- Primula’s heat setting Low
- Primula’s perk time No more than 3 minutes
I gave up after 20 minutes waiting for the water to boil on low heat and switched to medium. A 3-minute perk also left the coffee tasting under-extracted to me.
How to Use
Here is the recipe I use instead:
- Water per cup 6oz
- Grounds per cup 10–11g (0.35–0.39oz)
- Grind CoarseMedium roast
Then I brew it like this:
- Pour the grounds into the filter basket.
- Drop in the stem, filter basket and spreader, then close the lid.
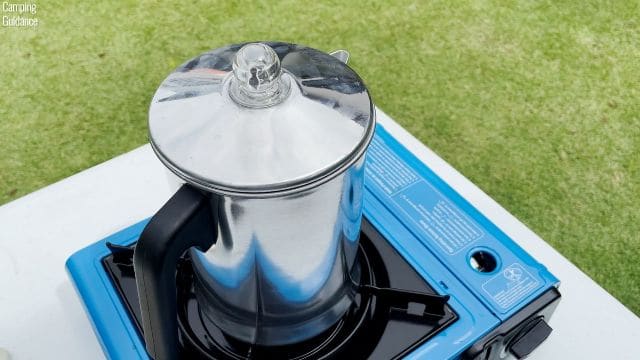
- Bring the water to a boil on medium heat — you can see it perking through the knob on top.
- Lower the heat to medium-low and percolate for 7 minutes, then turn it off.
- Let it sit a few minutes so the basket drains and the grounds settle.
Brew Time
For brew time I measured the time to first perk, which is how long the water takes to start boiling.
| Water | Time to first perk |
|---|---|
| 3 cups (18oz) | 4 min 45 sec |
| 6 cups (36oz) | 8 min 45 sec |

Capacity
- Marketed 9 cups
- Most coffee I could brew 6 cups (36oz)It boiled over at this level after about 8 minutes
- Least coffee I could brew 4 cups (24oz)At 3 cups there isn’t enough water to climb the stem
- Filter basket holds 120g (4.2oz) of coarse groundsThe biggest basket of any percolator I own
- Other sizes None
It is sold as a 9-cup percolator. At 36oz, which reaches the second spout hole, it boiled over after roughly 8 minutes on medium-low and I had to kill the heat.

5 cups and 4 cups brewed fine. At 3 cups my brew was water with grounds in it, and my 32g (1.1oz) of grounds went almost untouched.
So the real range is 4 to 6 cups, which is a narrow window for a percolator sold as a 9-cup.
Ease of Use
There are no markings or scale anywhere on the pot, inside or out, which is inconvenient when you’re trying to hit a specific number of cups.
It does have a transparent perking knob, so you can see when the water starts boiling and how dark the coffee is getting.

The horizontal part of the handle gets hot, but the vertical part stays cool and the handle is sturdy to hold.

It sits stable on the stove. A coarse grind kept all but a minimal amount of grounds out of my last cup — if you do find grinds, wet the filter basket or line it with coffee filter paper.
Clean Up
I toss the grounds and run water through every component, and they all come apart easily for a proper wash.
Percolating plain water works well too. I hand-wash mine rather than risk the dishwasher — Primula gives no guidance either way.
Quality
- Pot, stem, basket and spreader Aluminum
- Handle and perking knob Plastic
- Warranty None statedI could find no warranty information at all
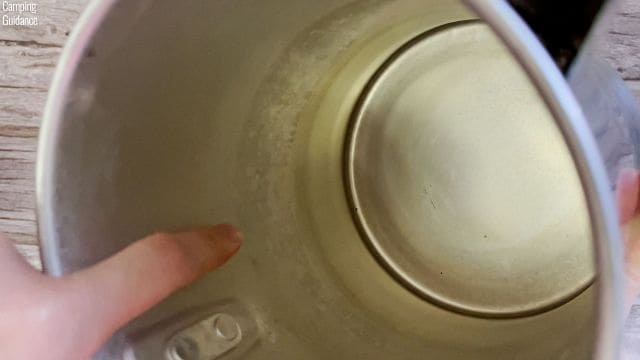
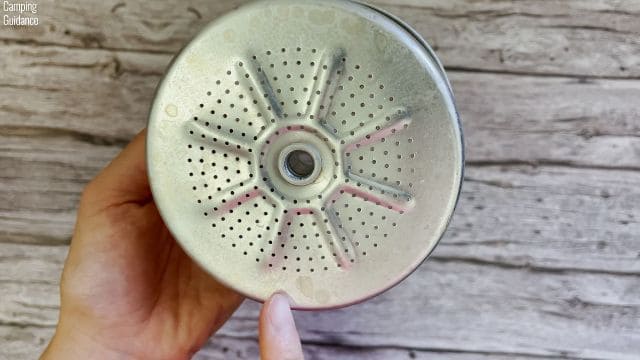
The holes in the spreader and filter basket aren’t cut cleanly and feel rough against the skin. The finish is lacking too — here are the water marks inside the pot and the coffee stains on the basket.
My stem arrived bent, and neither it nor the filter basket sits firmly inside the pot, so the whole thing rattles when I shake it.

Overall quality is not great.
Pros and Cons
Now, what are the pros and cons, and would I recommend the Primula Today Aluminum Percolator?
The lightest percolator I own
At 11.6oz the aluminum build is far lighter than any of my stainless steel percolators, which matters if you’re carrying it.
A very big filter basket
It holds 120g (4.2oz) of grounds, so there’s plenty of room if you like your coffee strong.
The least expensive percolator I tested
Nothing else in my lineup costs less.
It is not a 9-cup percolator
My usable range is 4 to 6 cups — it boils over above that and won’t brew properly below it.
No cup-level markings at all
There’s no scale inside or out, so you’re guessing at how much water you’ve put in.
The quality and finish are poor
The basket holes are roughly cut, the pot and basket stain, my stem arrived bent, and the components rattle inside the pot.
Overall recommendation
If you’re on a really tight budget this is the least expensive camping percolator I own, and aluminum is far lighter to carry than stainless steel.
Honestly though, I’m not a fan. The finish and the cutting are poor, my stem arrived bent, and the components don’t even sit firmly inside the pot.
I would rather pay slightly more for a much higher quality percolator than the Primula Today Aluminum Percolator.
Bonus – MUST Read!
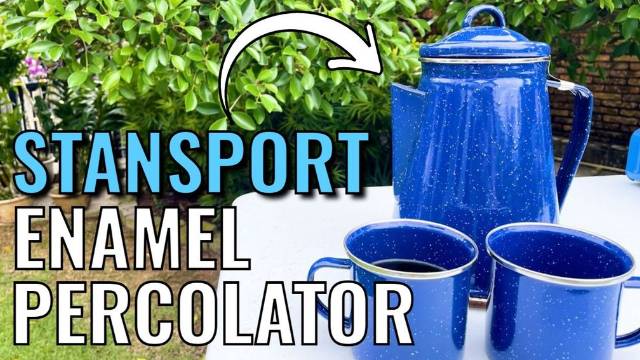
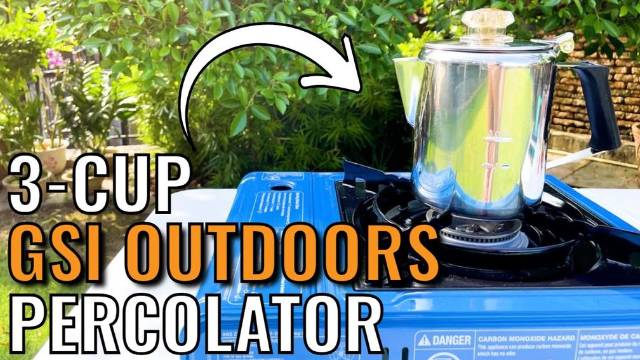
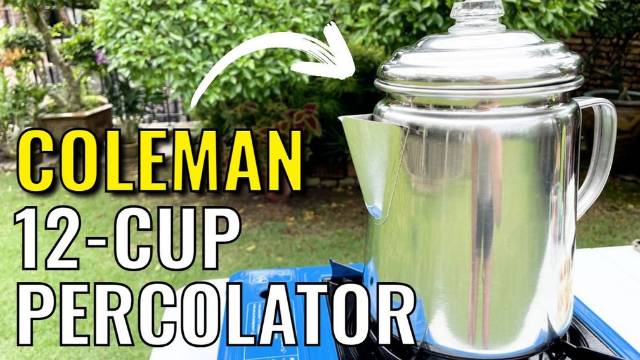
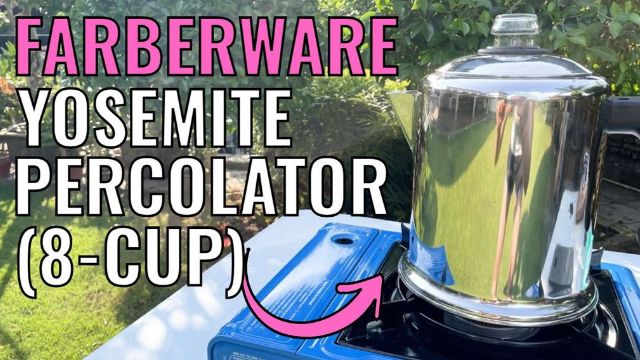
I know this because I tested the Primula Today against 8 other camping percolators. Check out my 9 Best Camping Percolators article to see which one I actually recommend.
Or, check out the Primula Today Percolator:
Every figure above is from my own testing — measured by hand, bought with my own money.