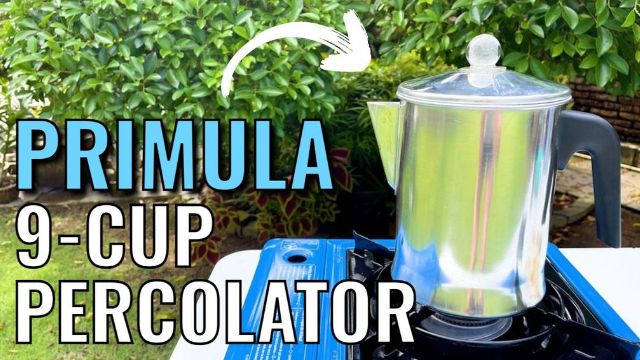
Camping percolators · How-to guide
How to Use a Camping Percolator (With Actual Pictures!)
My exact method for brewing coffee outdoors, refined across the 9 camping percolators I bought and tested.
- 9 steps
- 8 pro tips
- 4 months of testing
- $0 sponsored
This page contains affiliate links, and that means that I may earn a commission if you buy something, at no extra cost to you. You can find my full disclosure policy here.
Jump to a section
Here’s how I typically use my camping percolators. It’s my personal method of brewing coffee outdoors, so adjust it to suit your own preferences. A moka pot works nothing like this, so my Bialetti Moka Express review walks through that method separately.
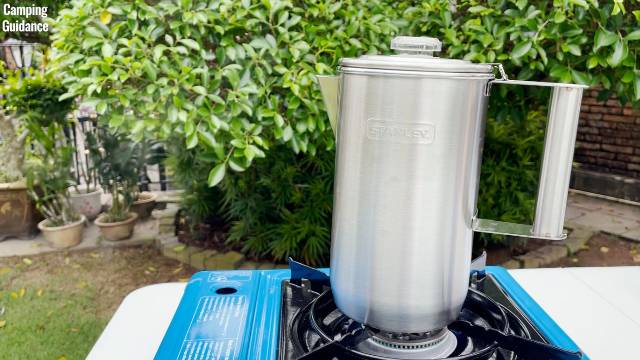
Before you brew
What you’ll need
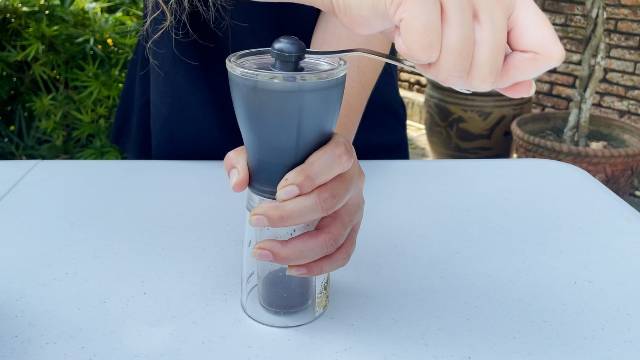
- Coarse-ground coffeeBuy whole bean coffee and grind it coarse with a burr grinder (I use medium roast Lavazza and a Hario Mini Mill), or buy pre-ground coarse. Finer grinds work, but you’ll want coffee filter paper to keep grounds out of your cup.
- WaterRegular tap water is what I use; the easiest option. Pre-heated or filtered water works too.
- Heat sourceStovetop or campfire. For stovetops, check your percolator actually fits the burner.
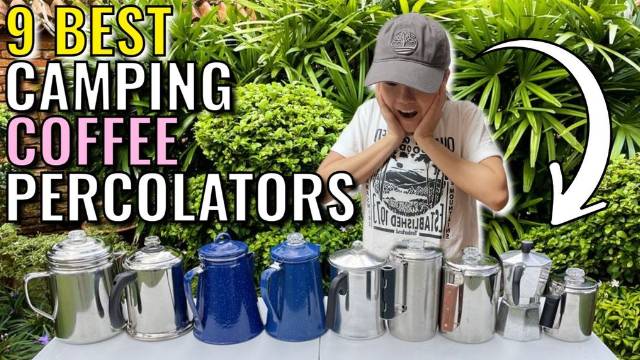
- A camping percolatorI bought and tested the 9 most popular. My 3 favorites are at the end of this guide, and the full 9-way review is here.
- Nice-to-havesA timer, a kitchen scale (or a 0.1g-precision one if you’re particular), a Pyrex measuring cup, and potholders or cloth for hot handles.
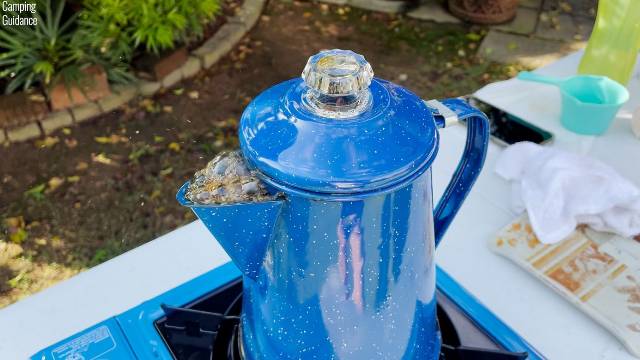
The partsThe coffee pot holds the water; the inner percolator is the stem, filter basket and spreader; the perk knob is the see-through bubble on the lid where you watch the brew darken.
Step 1 of 9
Grind the coffee: coarse, like sea salt
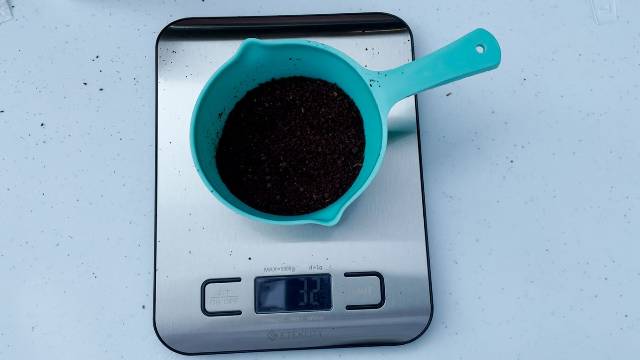
Coarse-ground coffee isn’t common in stores, so I buy medium roast whole bean and grind it myself. Then measure: I use 10-11 grams of grounds per 6-oz cup, 10.6g to be exact. No scale? A good starting point is about one tablespoon per cup.
| Cups | Grams of grounds |
|---|---|
| 1 | 10.6g |
| 2 | 21.2g |
| 3 | 31.8g |
| 4 | 42.4g |
| 5 | 53.0g |
Step 2 of 9
Pour the grounds into the filter basket
Remove the inner percolator and take just the filter basket. Pour the grounds in first, before anything else, so the finer particles fall onto the table, not into your water.

Constantly finding grounds in your coffee? Line the basket with filter paper before the grounds go in.

And don’t fill the basket to the brim, because when water spreads over the grounds it needs room, or they overflow into your coffee. Here’s every basket filled to the brim:
| Filter basket | Grams | Ounces |
|---|---|---|
| GSI Outdoors Glacier | 48g | 1.7oz |
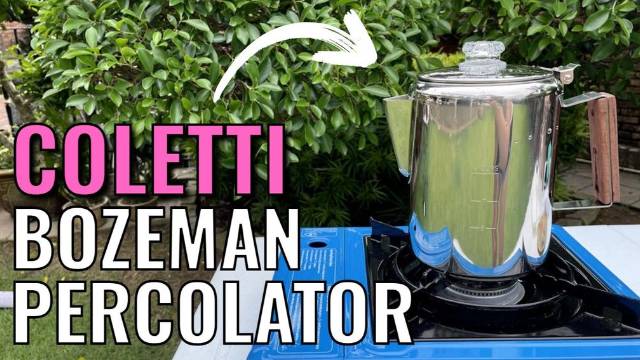
| Coletti Bozeman | 63g | 2.2oz |
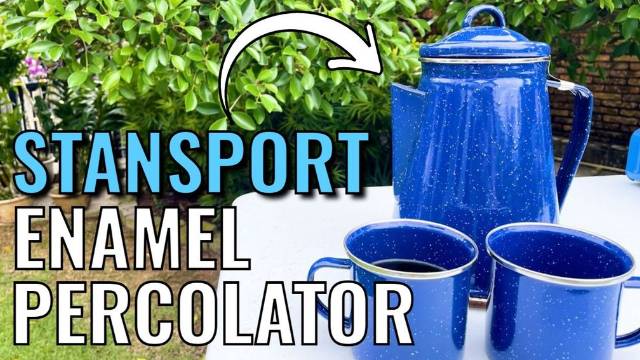
| Stansport | 71g | 2.5oz |
| Stanley Camp | 80g | 2.8oz |
| GSI Enamel | 82g | 2.9oz |
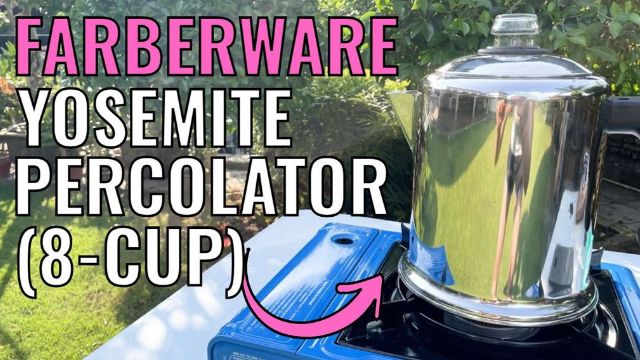
| Farberware Yosemite | 93g | 3.3oz |
| Coleman | 111g | 3.9oz |
| Primula | 120g | 4.2oz |
My adviceLeave 5 to 15 grams of headroom below the brim. Every percolator is different, so if yours overflows, keep decreasing until it doesn’t.
Step 3 of 9
Measure the water
A cup of coffee is 6-8 ounces, and I use 6 oz, measured with a Pyrex cup.

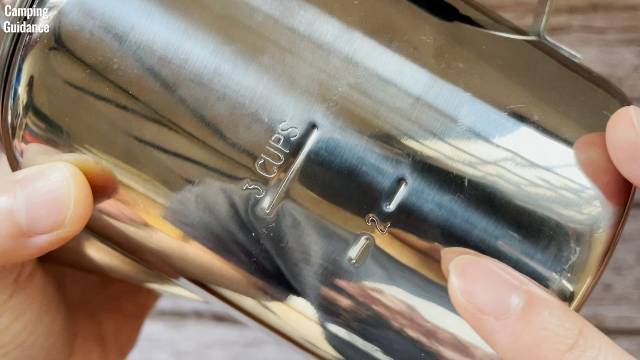
No measuring cup? Fill to your pot’s water-level markings, if it has them.
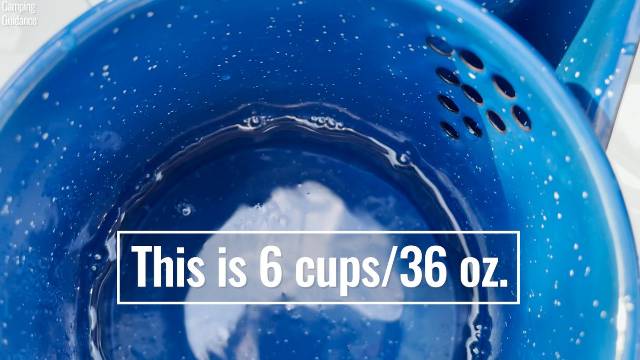
Or use the spout holes as a gauge: stay half an inch to an inch below the holes. Some of mine boiled over right at them.
Step 4 of 9
Assemble the percolator
Stem and base in, filter basket on the stem, spreader on top, lid closed. Onto the stove.

Step 5 of 9
Start the brew on medium heat
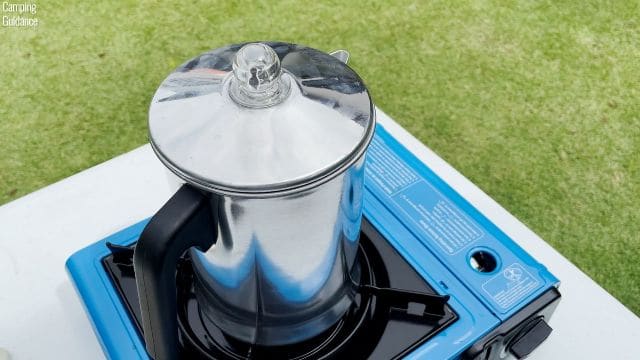
Medium heat reaches the first perk faster; medium-low works too. On a campfire, control is harder, so sit the pot above the flames or on a bed of coals, never in them.
My adviceDon’t use high heat to perk your coffee, even if the instructions tell you to. When I tried it, the coffee tasted burnt. And high heat loves to boil over, which puts grounds in your cup.

Step 6 of 9
Watch for the first perk
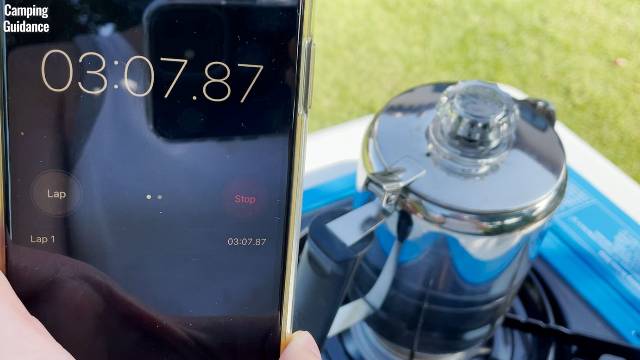
When the water boils, you’ll see it perking in the knob. Time to first perk depends on capacity and material: bigger pots and stainless steel take longer. My measured times:
| Percolator | First perk (18oz / 3 cups) |
|---|---|
| Stansport Enamel | 4 mins 30 secs |
| GSI Enamel | 4 mins 45 secs |
| Primula Aluminum | 4 mins 45 secs |
| Coletti Bozeman | 4 mins 45 secs |
| Farberware Yosemite | 5 mins |
| GSI Glacier | 5 mins 30 secs |
| Coleman Stainless Steel | 6 mins |
| Stanley Camp | 7 mins 45 secs |
| Percolator | First perk (36oz / 6 cups) |
|---|---|
| Coleman Stainless Steel | 6 mins 45 secs |
| GSI Enamel | 8 mins |
| Stansport | 8 mins 15 secs |
| Farberware Yosemite | 8 mins 30 secs |
| Primula Aluminum | 8 mins 45 secs |
| Coletti Bozeman | 10 mins |
| Stanley Camp | 10 mins |
Step 7 of 9
Set your timer, ease the heat
At the first perk I lower the heat to medium-low and set a timer: 5 minutes for a milder brew, 10 for stronger. I like 7 as the middle ground. Aim for a perk every 1-2 seconds; more vigorous than that and the coffee overheats and tastes burnt.
Or skip the timer entirely and pull it off the heat when the knob shows the color you like.

Step 8 of 9
Let the grounds settle
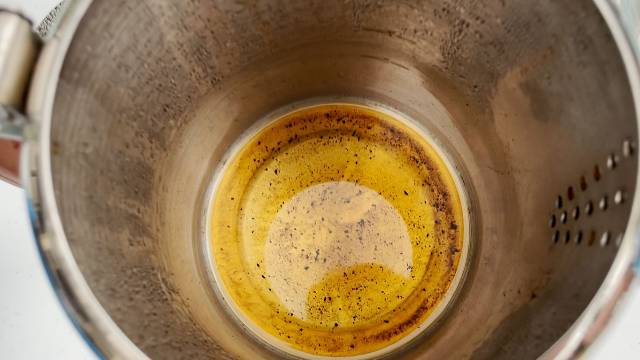
When the timer goes off, let the percolator rest 5-10 minutes so the basket drains and any grounds sink to the bottom. You can pull the inner percolator out to dump the grounds, though I personally don’t, because it’s extremely hot.
Step 9 of 9
Pour and enjoy
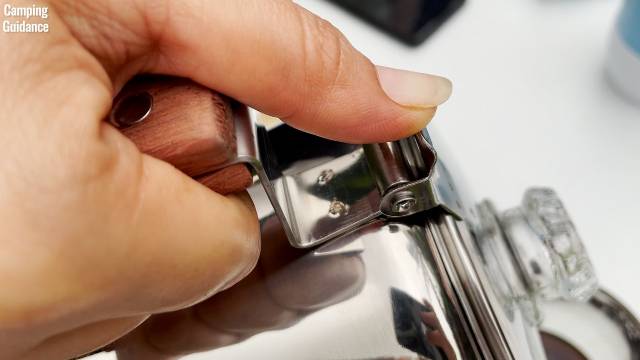
That’s it, pour. If your pot has a cover hinge, press up on it with your thumb to keep the lid shut while you pour.
The 8 rules
Tips from brewing in all 9 percolators
- Use a coarse grindAbout the size of sea salt. The basket holes are 1-2mm, so a fine grind falls straight through into your cup.
- Wet the filter basketWater droplets cling to the holes and stop the smaller grounds slipping through.
- Consider filter paperCovers every hole, more effective than wetting, and it limits bean oils too. One more thing to pack, though.
- Don’t overfill the groundsRising water takes up basket space, so brim-full means overflow, and grounds in your coffee.
- Don’t overfill the waterTop marking is the max. No markings? Stay half an inch to an inch below the spout holes.
- Never use high heatBoil-overs and burnt coffee. Low to medium, always.
- Use a medium roastDark roast over-extracts, light roast goes bland. My pick is Lavazza.
- Choose the right percolatorMarkings, perk knob, heat-resistant handle, tight lid, cover hinge: pick a percolator that has the features you want.

My favorites
Which percolator should you use?
Best overall
An incredible tank: 18-gauge 18/8 stainless steel, a thick 3mm glass knob, and a solid rosewood handle. Just know its marketed 9 cups is really 5 in my testing.
Runner up
The same workhorse formula in marine-grade 18/8 steel. The better fit if you prefer a resin knob and a silicone handle.
Best budget
My least expensive stainless percolator, with loads of features. The plastic handle runs hot and the 1.8mm glass knob is thin, but it’s perfect if you’re just starting out.
The bottom line
Coarse grind, 10-11 grams per 6-oz cup, low-to-medium heat, a perk every 1-2 seconds, 5-10 minutes on the timer. That’s the whole game. Grounds in your cup? Wet the basket, add filter paper, and never let it boil over. Want the full data on all 9 pots? See how they ranked →
Quick questions
FAQ
How much coffee do I use per cup?
10-11 grams of coarse grounds per 6-oz cup, 10.6g exactly in my testing. No scale? Start with about one tablespoon per cup.
Why do I get grounds in my coffee?
Grind too fine, basket overfilled, water above the spout holes, or heat too high. A coarse grind plus filter paper fixes almost all of it.
How long does percolator coffee take?
A few minutes to the first perk (4½-8 minutes for 3 cups in my testing), then 5-10 minutes of perking, then 5-10 minutes to settle.
Keep going
Where to next
The decision guide
How to Choose a Camping Percolator
The 6 decisions that matter, backed by the same 9-percolator test.
The rankings
Every brew time, capacity and quality score from this test, ranked.
Every figure on this page comes from my own testing of 9 camping percolators, bought with my own money.