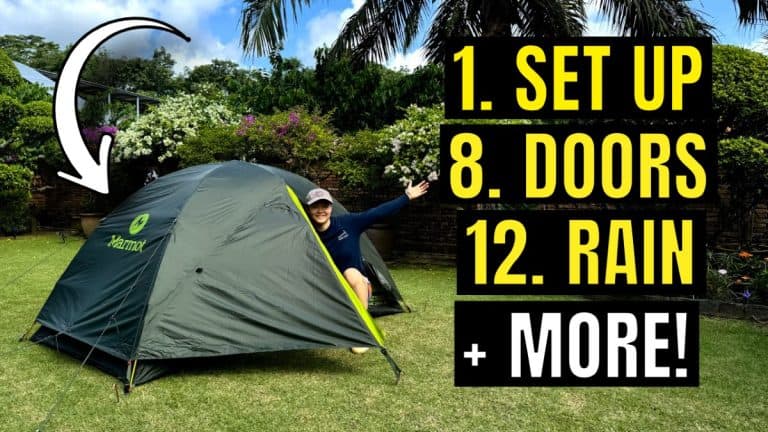
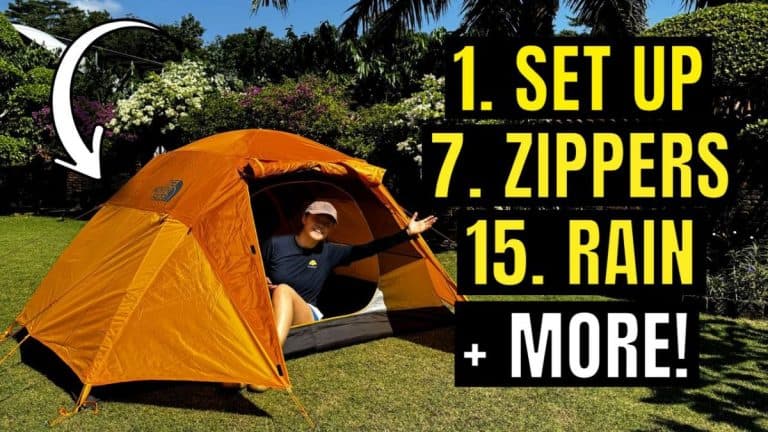
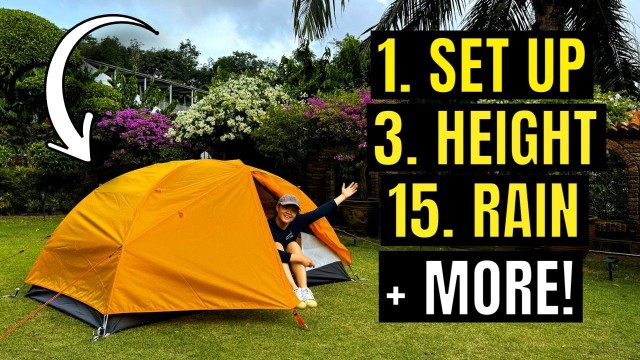
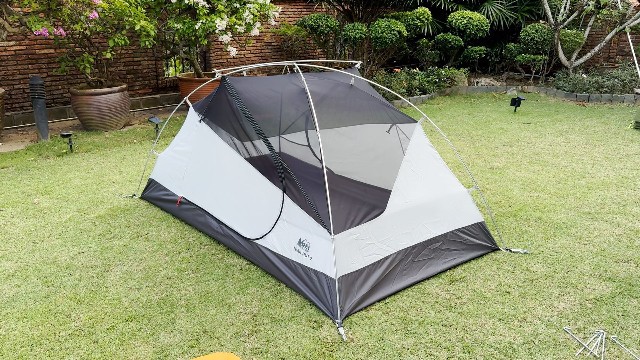
REI Co-Op Trail Hut 2 Tent Review (Bought & Tested!)
This is my review of the REI Co-Op Trail Hut 2-Person Tent. I bought it with my own money and tested it for weeks.
This page contains affiliate links, and that means that I may earn a commission if you buy something, at no extra cost to you. You can find my full disclosure policy here.
Quick Summary
While the REI Trail Hut 2 is not the absolute best budget tent I’ve tested, it’s a perfectly functional tent that’s worth the money whenever it goes on sale at REI Co-Op. (I love that it comes with a footprint too, making it even better value for money.)
RELATED: Best Budget Backpacking Tents, Best REI Tents
If you enjoyed this video, please consider subscribing to my YouTube channel here:
Check out the REI Trail Hut 2:
1. In the Box
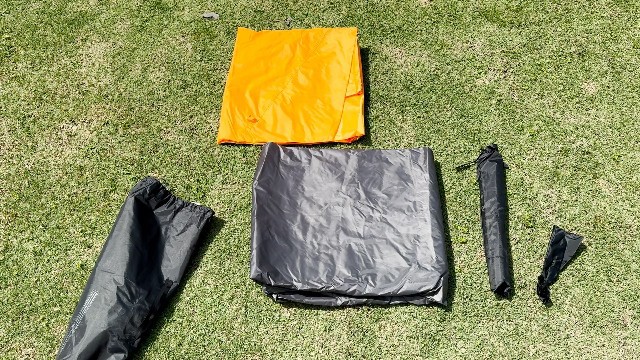
Out of the box, this is what I got:
- Carry bag
- Rainfly (with 4 pre-attached guylines)
- Tent body
- Footprint (pre-attached to tent body)
- Poles x 3 (2 long, 1 short)
- Pole repair splint
- Stakes x 6
2. Set Up & Pack Away
This is the gist of the entire setup:
- Lay tent body (and pre-attached footprint) on the ground.
- Secure the 2 long poles into the 4 corner grommets.
- Secure the 13 pole clips.
- Short ridge pole to be secured with 2 grommets at top of the tent.
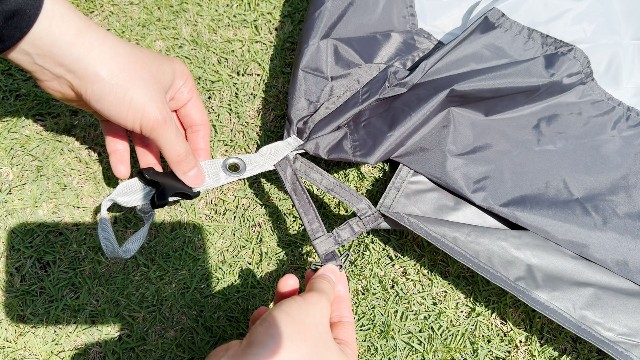
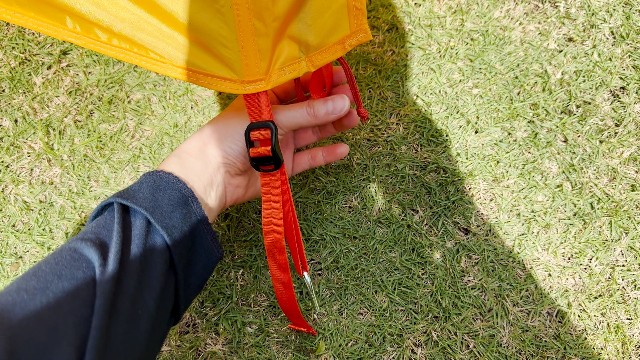
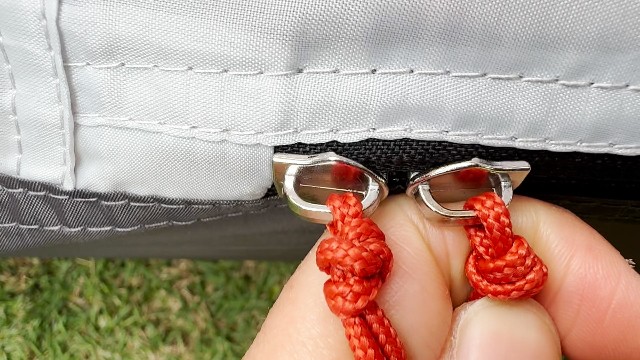
- Secure rainfly with 4 corner easy-clip buckles.
- Stake down entire tent (4 corner stakes, 2 vestibule stakes, 4 guylines).
Pro-Tip: Only 6 stakes were provided, but 10 were needed.
For more details, I have a separate video with loads of instructions and tips to help you set up your tent more easily:
Altogether, the entire setup takes about 6.75 minutes. The pack away takes the same amount of time – 6.75 minutes as well.
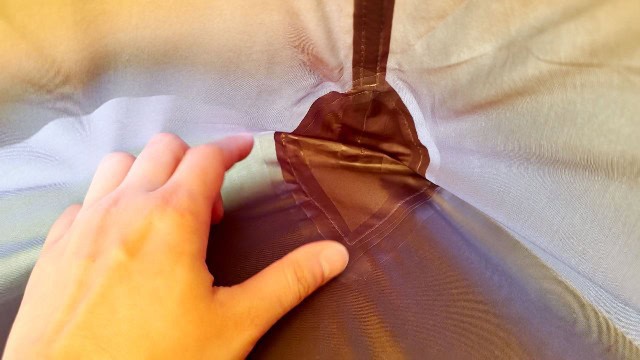
3. Footprint
The REI Trail Hut comes with a footprint, which is pre-attached to the tent body via toggles at the four corners:
4. Peak Height
The peak height in the Trail Hut 2 comes in at about 38 inches.
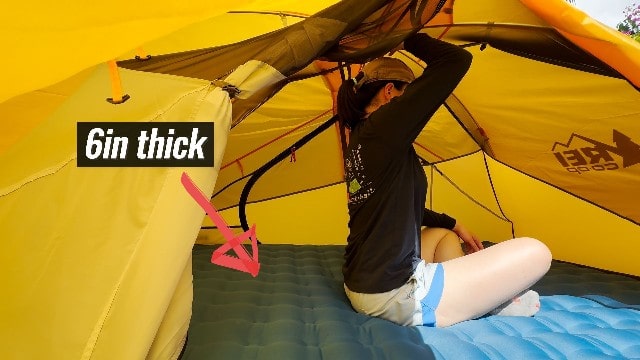
The extreme right and left widths of the tent also came in at about 38 inches.
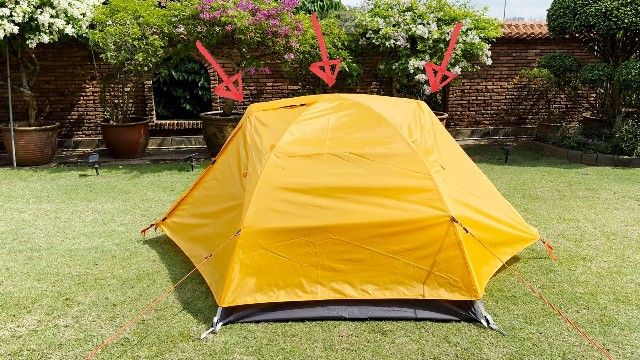
This means you get the peak height throughout the entire width of the tent, thanks to the short pole that goes on top of the 2 long poles.
5. Base Area
Here are all the important base area dimensions you might need:
- Length: 86 inches
- Width: 49 inches
- Base area: 29.3 square feet
6. Pad Sizing
Now, here’s my Exped MegaMat Duo – it fit quite nicely, with a bit of leftover space for storing gear on the floor.
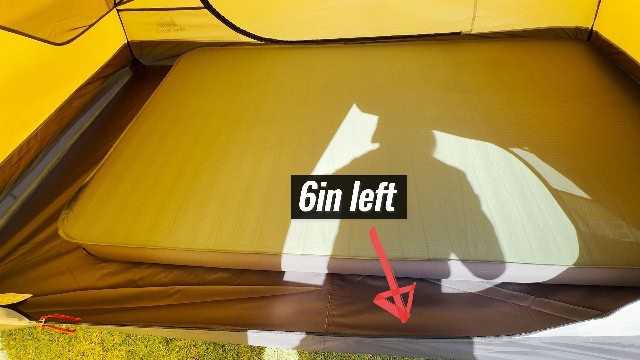
- Regular 20-inch pads fit best.
- Wide 25-inch pads will be a very snug fit.
- Extra wide 30-inch pads won’t fit.
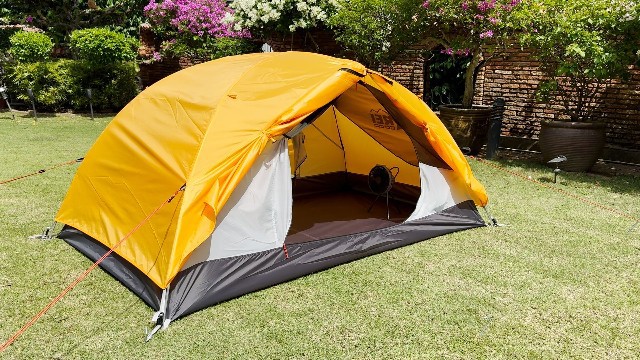
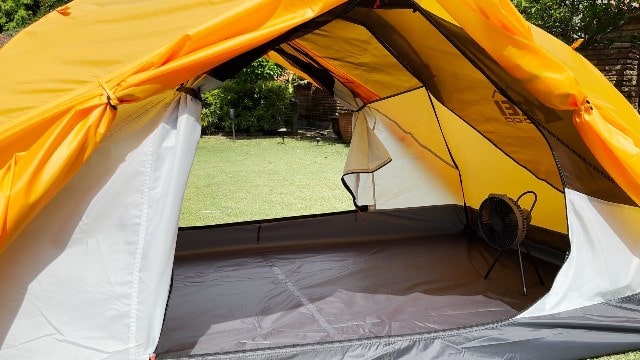
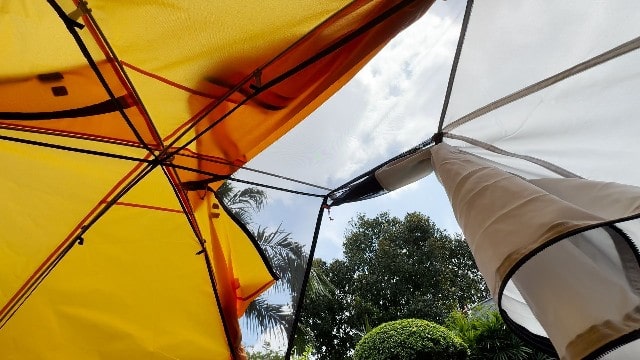
7. Vestibules
The Trail Hut 2 comes with 2 vestibules, one at each length.
- Width: 29 inches
- Length: 86 inches
- Area of 1 vestibule: 8.7 sq. ft.
- Area of both vestibules: 17.3 sq. ft.
Each vestibule has quite a few configurations:
- Fully closed
- Right opened
- Left opened
- Fully opened
- Opened over the top
8. Doors
Under each vestibule, you’ll find one door each, so 2 doors altogether.
To keep the doors open, there’s a toggle by the side to hold the door fabric out of the way.
9. Zippers
Each door has 2 zippers, I couldn’t find any branding on them so they’re no-name zippers, but even so, I found that the zipping experience was pretty good, with no snags for me at all.
Same with the vestibule, each vestibule has 2 zippers, no branding but not snaggy at all.
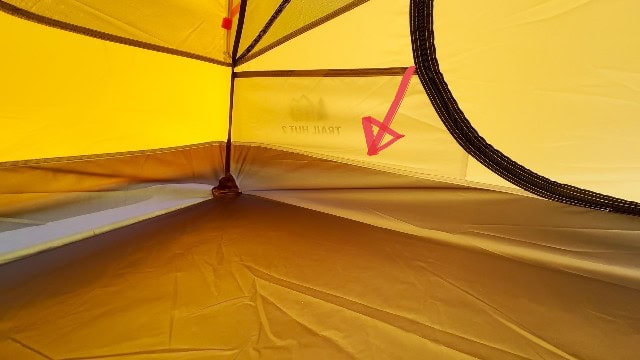
10. Storage
For storage, there are 2 pockets in the tent. They’re at opposite ends of the tent, so each of them is easily accessible from each door.
There’s also a total of 7 loops in the tent, giving me lots of space for hanging gear up. (Note: No gear loft provided despite the many loops.)
11. Seam Taping
As for seam taping, it was perfect all around the tent:
- All seams on flooring (corners, across the floor) were taped.
- All seams above flooring were not taped.
- All seams on rainfly were taped.
12. Tub Floor
The Trail Hut also has a tub floor that runs all around the entire tent with minimal seams on it.
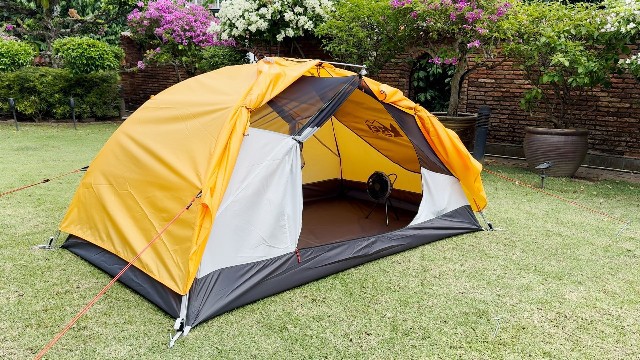
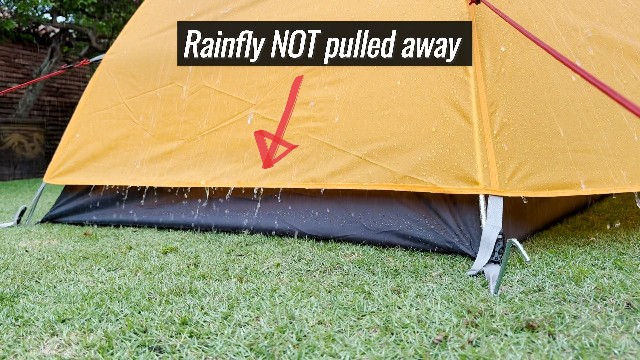
13. Rainfly
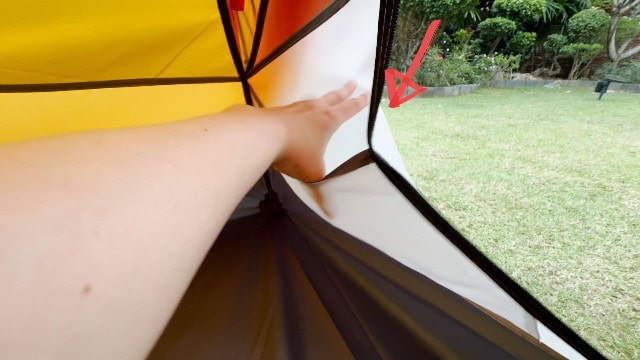
Moving onto rainfly protection, it’s a full-coverage rainfly, extending almost all the way to the ground for max rain protection.
What I didn’t like about this rainfly though, is that it cannot be pulled away at the widths of the tent, only the lengths (where the vestibules are).
14. Vents
There are 2 vents, one on each side of the tent.
The vent zipper is actually the extended vestibule zipper that I talked about in Test 7: Vestibules.

Now that we’ve explored most of the waterproofing features, let’s get into the rain test.
15. Rain Tests
I put the REI Trail Hut 2 through several rain tests:
- 2 hours moderate rain: No leaks
- 1 hour heavy rain: No leaks
Here’s the full rain test if you need more info:
Here’s a summary of all the results:
- Seams: No leaks
- Rainfly: No leaks
- Flooring: No leaks
- Vents: May leak depending on angle of rain (Thankfully, we can shut these from the inside.)
16. Mesh
Without the rainfly, there’s not a lot of mesh on the tent body.
I would say that this is about 40% mesh, and 60% fabric.
17. Materials
Here are all the materials of the REI Trail Hut 2:
- Flooring: 66D polyester taffeta
- Footprint: 66D polyester taffeta
- Rainfly: 68D polyester taffeta
- Tent body/canopy: 66D polyester taffeta
- Poles: Aluminum (8.5mm)
- Mesh: Nylon micro mesh
- Guylines: Shockcord (with reflective strip)
- Stakes: Shepherd-hook steel
18. Portability
Here are the packed dimensions of the Trail Hut 2:
- Packed size: 21 x 8.5 x 7 inches
- Pole length: 17 inches
As for weight, here’s a breakdown of all the components:
- Poles: 21.6oz
- Stakes: 5.5oz (for 6)
- Rainfly: 27.5oz
- Tent body: 28.2oz
- Footprint: 7.1oz
- Carry bag: 1.6oz
- Total weight: 91.5oz/5.72lbs/2.6kg
19. Pros, Cons, Recommendations
Now, what are the pros and cons, and would I recommend the REI Trail Hut 2?
Pro #1: Inexpensive
First, I thought the Trail Hut was really good value for money, especially since I bought it at 30% off during one of REI’s sales.
Pro #2: Comes with footprint
It even comes with a pre-attached footprint (most tents don’t), making it even better value for money.
Pro #3: Great vestibules
I also thought the vestibules had lots of different configurations, and could even be pulled back further than most other tents.
Pro #4: Great waterproofing
The waterproofing is also pretty good, the Trail Hut went through hours of light, moderate, and heavy rain with no leaks at all.
Con #1: Rainfly cannot be pulled away at widths
I think the biggest con of this tent is that the rainfly cannot be pulled away from the widths of the tent. This is a very simple feature to have, yet this tent doesn’t have that.
Con #2: Low peak height
On top of that, the peak height is quite low for a 2-person tent. It’s actually one of the shortest I’ve seen. Here are some other 2-person budget backpacking tents that I’ve tested:
| Budget Tent | Peak Height (in) |
|---|---|
| Alps Mountaineering Lynx 2 | 47 |
| Teton Mountain Ultra 2 | 44 |
| Marmot Crane Creek 2 | 43 |
| The North Face Stormbreak 2 | 43 |
| Nemo Aurora 2 | 42 |
| Kelty Late Start 2 | 41.5 |
| Coleman PEAK1 2 | 40.5 |
| REI Trail Hut 2 | 38 |
Con #3: Materials can be better
Also, the flooring is thin, coming in at only 66D polyester taffeta. Most tents tend to have at least 75D for better durability.
The zippers are somehow also not branded. Every other REI tent has YKK zippers (except for, strangely, the REI Trail Hut).
20. Bonus – MUST Read!
And that’s why the REI Trail Hut 2 isn’t the best tent I’ve seen (when not on sale). Check out the best budget backpacking tents for other options that may be better for you.
Otherwise, check out the REI Trail Hut 2: