LuminAID PackLite Max Review (Bought & Tested!)
This is my LuminAID PackLite Max lantern review. I put this solar lantern through many different tests (15 in total for this post), all of which you’ll find below.
This page contains affiliate links, and that means that I may earn a commission if you buy something, at no extra cost to you. You can find my full disclosure policy here.
Quick Summary
Overall, I thought that the LuminAID PackLite Max was a solid solar-powered lantern. However, I much prefer LuminAID’s PackLite Titan instead, it was many more features than the Max, so that’s the one I would recommend.
(See below for a comprehensive overview of the Titan V.S. Max.)

RELATED: Best Rechargeable LED Lanterns
If you enjoyed this video, please consider subscribing to my YouTube channel here:
Check out the LuminAID PackLite Max:
- Quick Summary
- 1. In the Box
- 2. Inflation and Deflation
- 3. Lighting Modes
- 4. Lumen Outputs
- 5. Run Times
- 6. Lighting Area
- 7. Light Color
- 8. Battery Indicator Lights
- 9. USB Input
- 10. USB Output
- 11. Solar Charging
- 12. Hand Strap
- 13. Waterproofing
- 14. Drop Testing
- 15. Portability
- 16. Max V.S. Titan Comparison
- 17. Bonus – MUST Read!
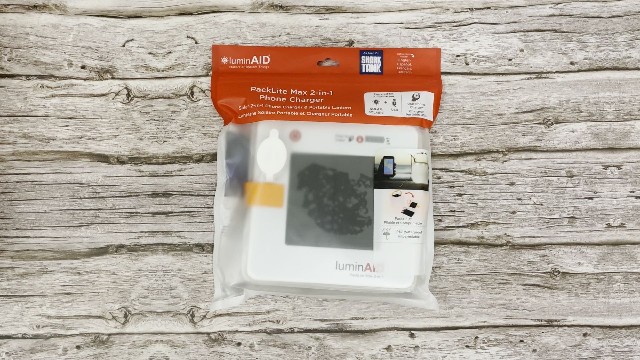
1. In the Box
I picked the PackLite Max 2-in-1 up from REI Co-Op during one of their 20% off sales, and here’s what it looked like when it arrived in the mail:
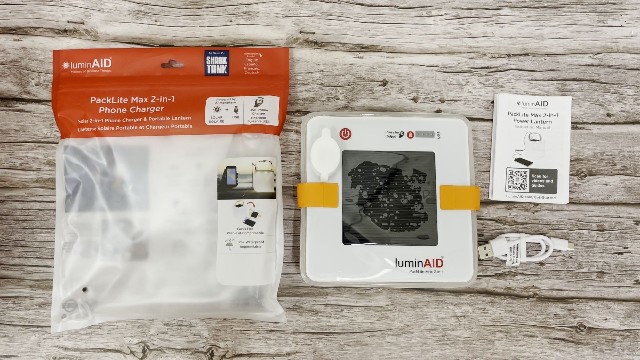
Here’s everything I got in the box after buying the PackLite Max:
The lantern
Instructions
Charging cable
2. Inflation and Deflation
To inflate the PackLite Max, open the air valve at the bottom of the lantern, then simply breathe into it. It takes only one breath to inflate fully.
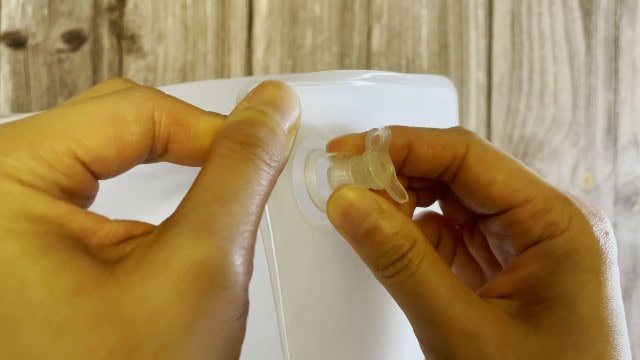
After that, cap the valve, and push it back into the lantern until it’s flushed with the surface.
Deflation is the exact opposite, just squeeze it to push the air out. Then, once it’s deflated enough, twist the lantern 90 degrees to get the fabric tucked in.
3. Lighting Modes
The power button at the top of the PackLite Max 2-in-1 turns the light on and off, and also cycles through the five brightness settings / light modes, which are these:
Turbo mode
High mode
Medium mode
Low mode
Flashing mode
Note: If you don’t like discrete brightness levels, and prefer continuous brightness adjustment instead, check out lanterns like the Goal Zero Lighthouse Core.
4. Lumen Outputs
Now, what is the lumen output for each of the light modes? Here are the official specs, and also what I tested using a lux meter:
| Light Mode | Official Specs (Lumens) | My Testing (Lumens) |
|---|---|---|
| Turbo | 150 | 196 |
| High | 75 | 110 |
| Medium | 18 | 56 |
| Low | 15 | 21 |
| Flashing | 15 | 21 |
I think the official specs are quite accurate, and you actually get about 30 to 50% a brighter output than you’d expect.
I would’ve also liked the low brightness settings to be dimmer.
5. Run Times
And how long do these modes run for? Of course, I tested this as well:
| Light Mode | Official Specs | My Testing |
|---|---|---|
| Turbo | 3-5 hours | 4.75 hours |
| Low | 44-50 hours | 39 hours |
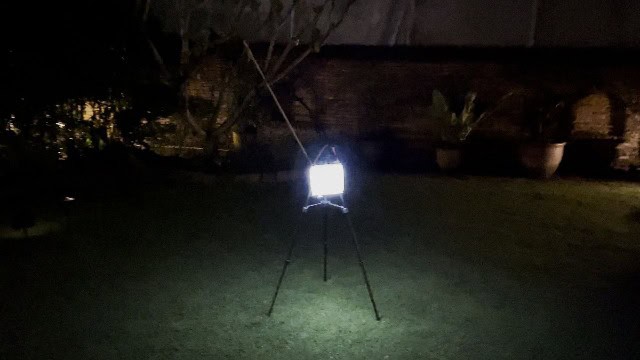
6. Lighting Area
Now, what is the total lighting area of the PackLite Max 2-in-1 when it’s on the brightest setting?
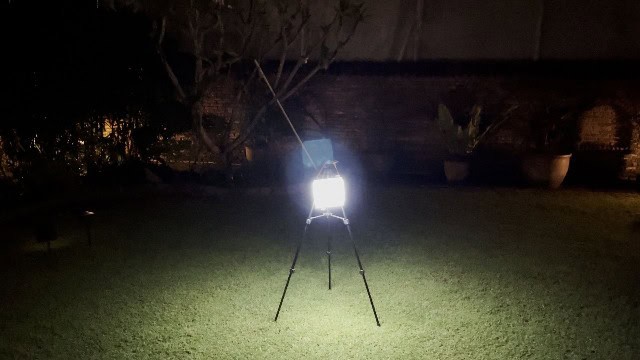
I measured it using the same lux meter, and got these results:
Shine radius: 6.0ft./1.84m
Lighting area: 144 sq. ft
Coleman WeatherMaster 10: 143.6 sq. ft
It’s very decent, and can light up even a 10-person tent.
7. Light Color
I thought the light color in the Max was a little bit harsh, it’s a cool white that’s about 5900 to 6500K in color temperature, which isn’t my favorite. There’s no red light mode.
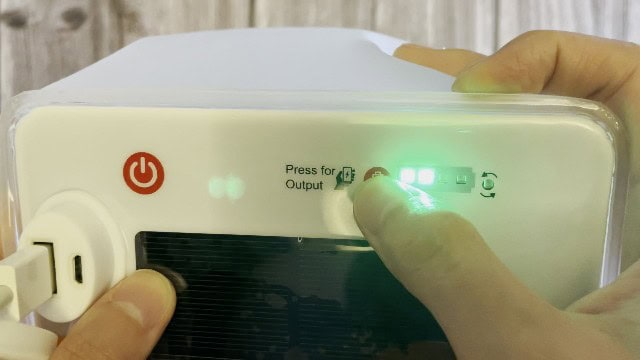
8. Battery Indicator Lights
To see how much battery you have left in your PackLite Max 2-in-1 Power Lantern, just press the output button, and the green battery indicator lights will come on.

Here are my test results when I ran my low brightness run-time test:
4 lights: 100%
3 lights: 100%
2 lights: 49%
1 light: 27%
0 lights: 0%
Honestly, not the most accurate, and kind of temperamental sometimes. But overall, not a very big deal.
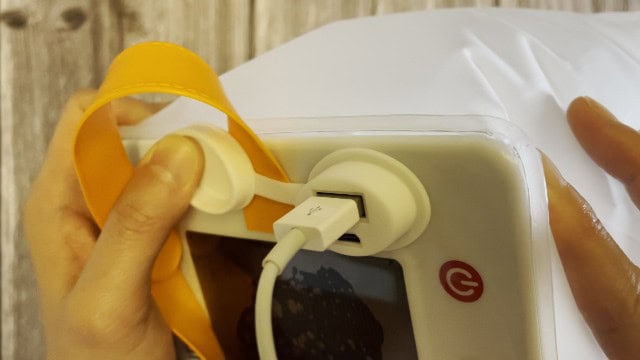
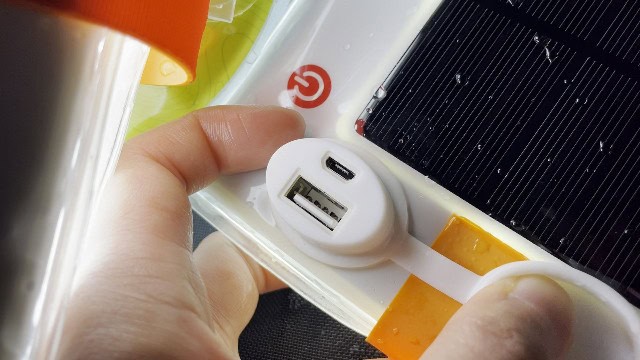
9. USB Input
Inside the port cap of the Max, you’ll find 2 ports inside. One is a micro-USB for charging the lantern, and the other is the output for charging your mobile phone and other devices. (That’s why it’s called a 2-in-1 phone charger.)
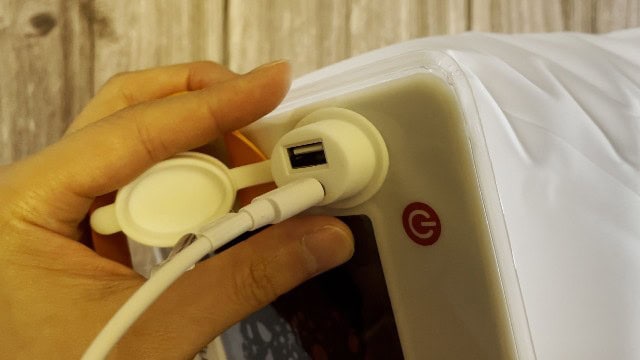
Here’s what to takeaway:
When I used the provided cable to charge my Max up, it took me about 1.5 hours, which is nice and short.
A fast charge of just 30 minutes will give you 2/3 of the battery capacity, also a nice feature.
10. USB Output
To activate the USB output, plug your phone in, with your phone cable, and press the output button.
When I used the Max to recharge my iPhone 12, here are my results:
Starting charge: 20%
Ending charge: 68%
Total charge: 48%
Time taken: 58 minutes
Leftover light: 4 hours on low mode
Overall, not the best as a phone charging because of the relatively low battery capacity. It charges phones only about 0.5 times their battery capacity.
11. Solar Charging
On top of the USB input for charging, you can also use the solar panel at the top for charging via solar power.
When I charged my Max for 12 hours under the sun (7AM to 7PM), I got about 30%.

To get a full charge on the Max, you’d need about 3 average days of sun.
If you get direct sunlight, it would charge faster than 3 days. If it’s too cloudy, it’ll take longer than 3 days.
This is a great feature to have in a pinch during a power outage, or to keep as a spare sustainable light in your car’s glove compartment.
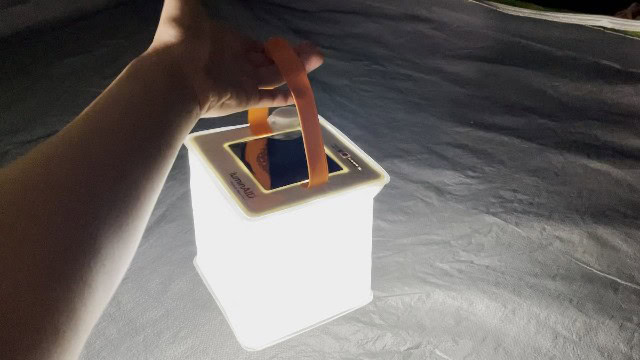
12. Hand Strap
The Max also has an orange hand strap at the top, which is adjustable, and you can use a carabiner to hang it at the top of the tent.
13. Waterproofing
As for the IP rating of this PackLite Max, that comes in at IP67, which means that it can be submerged in water up to 1 meter, for up to 30 minutes.
So, I tested my Max out in a pool for 30 minutes. It was super buoyant, so I couldn’t get it to stay down. But after the 30 minutes, it was still working great:
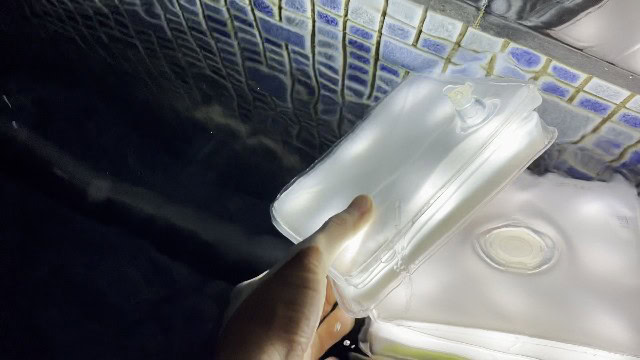
I saw a single drop of water inside the port cap, but other than that, it was great. No water in the ports themselves. Decently waterproof.
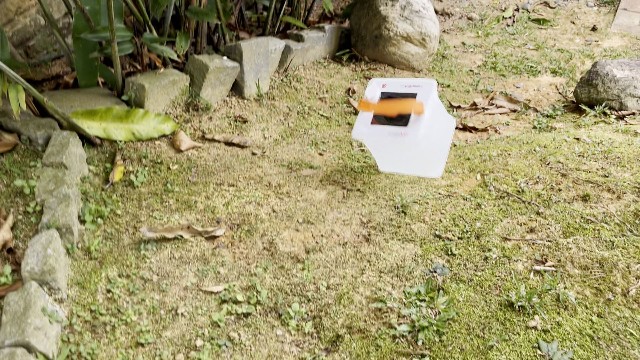
14. Drop Testing
I’ve dropped my Max from hand height dozens of times, and you can drop it down a small slope, have it bounce off a rock, and still have it working perfectly fine:
15. Portability
The PackLite Max 2-in-1 phone charger solar lantern weighs about 7.7 ounces or about 219 grams.
The deflated packed size comes in at 5.9 x 5.9 x 1 inches, which is 15 x 15 x 2.5 centimeters.
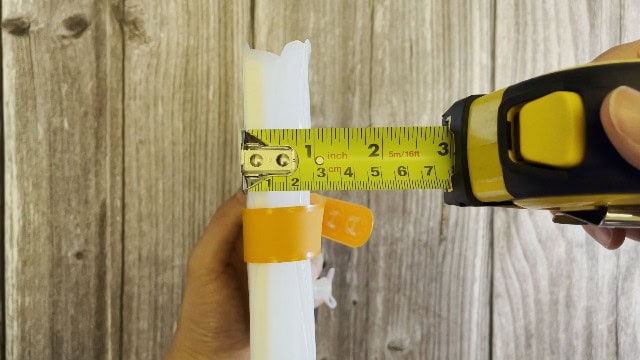
A great choice for a compact and lightweight solar lantern, for sure.
16. Max V.S. Titan Comparison
Now, exactly why do I think the Max is not great compared to the Titan? Simply put, the Titan just beats the Max in almost every single test.
| Differences | PackLite Titan | PackLite Max |
|---|---|---|
| Inflation Method | Twist | Breath |
| Inflation Timing | 2 seconds | 10 seconds |
| Light Modes | 10 modes | 5 modes |
| Red Light Mode? | Yes | No |
| Battery Capacity | 4,000 mAh | 2,000 mAh |
| iPhone 12 Charge | 82% | 48% |
| Max Brightness | 316 lumens | 196 lumens |
| Tested Run-Time on Dimmest | 250 hours | 39 hours |
| Min Brightness | 1 lumen | 21 lumens |
| Lighting Area | 211 sq. ft. | 144 sq. ft. |
| Lights up | Small campsite | 10-person tent |
| USB Charge Time | 2 hours | 1.5 hours |
| Solar Panel Size | 4.0 x 4.0 in | 3.1 x 3.1 in |
| Puncture-Proof? | Yes | No |
| Emergency Mode | SOS | Flashing |
| Hand-Strap | Velcro | Plastic snap-on |
| Weight | 11.9 oz | 7.7 oz |
Note: The only tests that the Max beat the Titan is in the USB charge time (it takes 30 minutes less to charge), and in weight (it weighs 4.2 ounces less). (These 2 tests have been highlighted in the table above.)
That’s why the LuminAID PackLite Titan is the perfect solar lantern for power outages, in your emergency kit, for your off-grid trip, camping trip, or even during the storm season.

17. Bonus – MUST Read!
If you want to see how these LuminAID lanterns (Max AND Titan) compare to other rechargeable LED lanterns or solar lanterns out there, check out these blog posts:
Best Solar Lanterns (TBA)
Want me to review other LuminAID lights? Feel free to reach out to request them on my YouTube channel 🙂
Otherwise, check out the LuminAID PackLite Max: