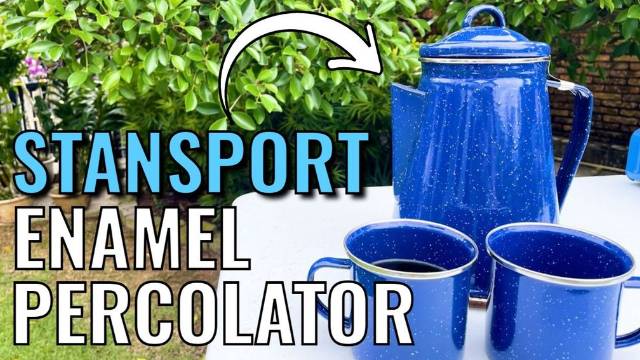
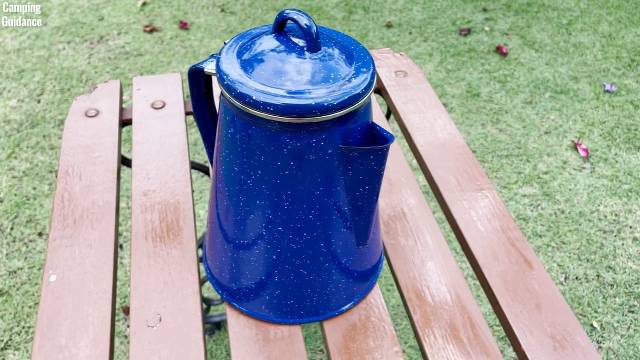
Stansport Enamel Percolator (8-Cup) Review: I Bought & Tested It
This page contains affiliate links, and that means that I may earn a commission if you buy something, at no extra cost to you. You can find my full disclosure policy here.
Rating and Summary
The Stansport Enamel 8-Cup Percolator isn’t too expensive, and even comes with 4 matching enamel mugs, which is cool to have.
However, the capacity is overstated, I could brew only 5 cups of coffee in this (no more and no less), it’s not user-friendly at all, and I’m concerned about the long-term durability as signs of rust are already showing.
If you enjoyed the video, please consider subscribing to my YouTube channel right here:
Check out the Stansport Percolator:
Product Details
Here’s what we’ll discuss here:
- Unboxing
- In the Box
- Specifications
- How to Use
Unboxing
My Stansport Enamel Percolator (with the 4 enamel mugs) came in a nice Stansport packaging, and here’s what it looks like:

For more details on the unboxing, do check out the video embedded above.
In the Box
In the box, you get the Stansport coffee pot with the percolator inside, 4 enamel mugs, and some instructions. For the updated price, you can check it out at Amazon right here.
Specifications
Here are my personal measurements of the Stansport 8-Cup Enamel Coffee Percolator.
- Length from handle to spout, about 7.5 inches or 19 cm.
- Diameter of lid, about 4.5 inches or 11 cm.
- Diameter of base, 6.5 inches or 17 cm.
- Height from base to perking knob, 9.5 inches or 24 cm.
- Weight of entire percolator, 604 grams or 21.3 ounces.
- Weight of each enamel mug, 103 grams or 3.7 ounces.
- Diameter of mug, 3.5 inches or 9 cm.
- Height of mug, 3.25 inches or 8 cm.
- Made in: China.
How I Use It
If you’re interested, here’s how I make my own percolator coffee. For me, I use 6 ounces of water for 1 cup of coffee. I grind my medium roast coffee into a coarse grind, I use 10 or 11 grams of grounds for 1 cup of coffee, and I pour it into the filter basket.
Next, I place the stem, filter basket, and spreader into the coffee pot, close the lid, and place the Stansport Enamel Percolator on the stove. My personal preference is to bring the water to a boil on medium heat, and when it starts boiling, you can see steam coming out of the spout.

After, I usually lower the heat slightly to medium low heat, and wait about 7 minutes, before turning off the heat entirely.
Then, I let the Stansport 8-Cup Enamel Percolator sit for a few extra minutes to allow the water in the filter basket to drain out and the grounds in the coffee to settle at the bottom, before pouring it out to drink.
Testing and Performance
Here’s how I tested the Stansport Enamel 8-Cup Percolator:
- Brew Time
- Capacity
- Ease of Use
- Ease of Clean Up
- Quality
You can also find all the test results in this section.
Brew Time
For brew time, because the Stansport Percolator does not have a perking knob, I looked at the time that steam started coming out of the spout, so hopefully this shows the amount of time it takes for the water to start boiling. Not as accurate as having a perking knob, but it was the best I could do.
At a 3-cup capacity, or 18 ounces, it took 4 and a half minutes to start seeing steam.
At a 6-cup capacity, or 36 ounces, it took 8 minutes and 15 seconds.

Bear in mind that these are estimates and can change depending on different factors like the temperature of your water, the surrounding temperature, the amount of heat you use, and stuff like that. I used tap water at room temperature, and brought it to a boil on medium heat.
After seeing steam, I let the coffee percolate for about 7 minutes on medium-low heat.
Capacity
This Stansport Enamel Percolator is marketed as an 8-cup coffee percolator, but when I filled it with 36 ounces or 6 cups, it boiled over just a little. I did not catch the boiling over, but there were coffee splatters on the pot, the stove and the table.

The Stansport Percolator worked perfectly when I brewed 5 cups of coffee, or 30 ounces.
When I brewed 4 cups, or 24 ounces, the coffee tasted diluted even though I percolated it for more than 10 minutes. As for 3 cups, or 18 ounces, it was just water with some grounds. This is because there wasn’t enough water to go up the stem and spread over the grounds. My 32 grams of coffee grounds were hardly used.
I also thought that the filter basket is a bit too small. When I packed it to the brim, it could hold at most 71 grams (or 2.5 ounces) of coarse ground coffee. Personally, I would not fill it to the brim, because when water comes up from the stem and spreads over the grounds, the filter basket will overflow, and grounds will get into the coffee.
When I brewed 6 cups of coffee with 64 grams of coarse grounds, the filter basket overflowed, and grounds got into my coffee.

When I brewed 5 cups of coffee with 53 grams of coarse grounds, there was less overflowing, and grounds did not get into my coffee.
So, basically, the Stansport Percolator is good for brewing only 5 cups of coffee, no more and no less. The official instructions say a minimum of 4 cups is fine, but this did not work for me.
The Stansport Percolator only comes in this capacity, there are no other smaller or bigger options.
As for the 4 enamel mugs, they each have a 12-ounce capacity when filled to the brim.
Ease of Use
The Stansport Enamel Percolator does not have any scale or cup level markings on the inside or outside of the coffee pot, which is a little inconvenient. And I can’t even use the spout holes as a gauge, because when I filled it with 36 ounces of water below the spout holes, it still boiled over a bit.
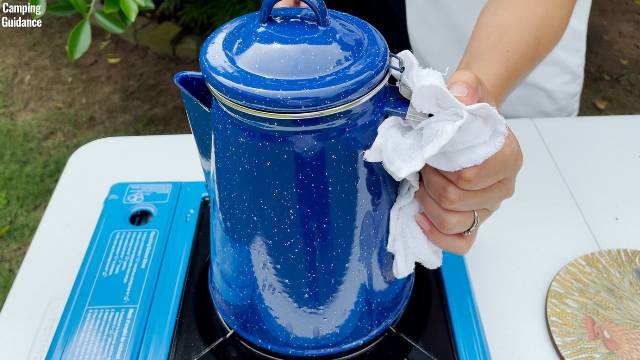
The handle is made of the same material as the pot, so it gets really hot after percolation, and I needed to use a cloth around the handle. I also needed to use a cloth to hold the lid when pouring, because the lid is super loose.
The Stansport Enamel Percolator also does not come with a perking knob, so I had to use the steam coming out of the spout as a gauge. This isn’t a big issue outdoors, where you can see the steam clearly in daylight.

But when I was indoors, it was much more difficult to see the steam. Here you can hardly see the steam, but there’s actually a lot of it coming out. Also, without the perking knob, you can’t see how dark your coffee gets.

It does have a wide base though, so it’s pretty stable on the stove.
And because I used a coarse grind, only a minimal amount of grounds got into my last cup of coffee when brewing 5 cups. If you find grounds in your coffee, you can either wet the filter basket or use coffee filter paper to line the basket.
As for the 4 enamel mugs, the handles are not heat-resistant either, so they get really hot when you pour piping hot coffee into it. The handles are not the biggest either.
Clean Up
To clean up, just toss the grounds and run water through all the components of the Stansport Enamel Percolator. They can be taken apart easily for a good washing. I found that percolating water is more effective at getting rid of the coffee bean oils.
There’s no information on it being dishwasher safe.
Quality
The entire Stansport coffee pot, including the handle and the lid, is made from some sort of metal underneath, with a kiln-hardened enamel finish.

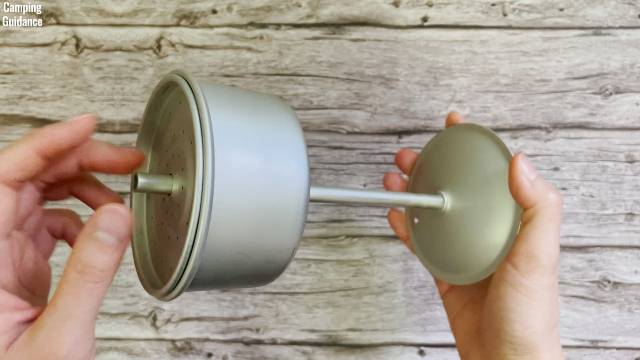
The stem, filter basket, and spreader are made of aluminum and feel a bit flimsy. Also, they don’t sit firmly inside the pot, and rattle about when I shake it gently.
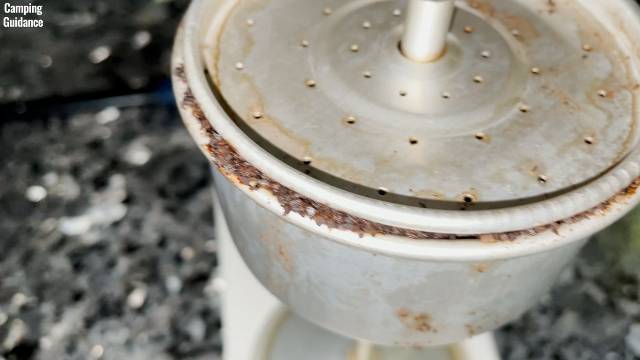
The Stansport coffee pot comes with a stainless-steel rim, but the lid does not. So, after some light usage, I can see a little rust forming. It’s minimal, but it shows durability issues. The spout and the base are also showing the same signs of rusting. As for chipping, I did not notice any.

I’m also not a big fan of this metal hinge that connects the lid to the handle. It feels flimsy and can be easily bent. Not sure how long it’ll last.

Another thing that I did not like about the Stansport Percolator is that there were coffee stains on the pot out of the box, so I’m not sure whether someone used it before it was sold to me. And because these stains have been on the Stansport coffee pot for some time, I have not been able to wash them off, and I can still see them even after weeks of using and washing this. Did not like that at all.

As for the enamel mugs, they seem to be of decent quality and I had no issues with them apart from the handle getting hot.
Pros and Cons
For pros, the Stansport Enamel Percolator is not too expensive, especially considering that you get 4 enamel mugs with it.
However, for cons:
- It’s definitely not an 8-cup capacity. In fact, the capacity is extremely limited, and I could brew only 5 cups of coffee with it. Any more would boil over and I would have grounds in my coffee, and any less will taste diluted.
- It’s also not the most user-friendly, because the handle is not heat-resistant, there are no scale or cup level markings, I could not even use the spout holes as a gauge, and there’s no perking knob.
- And lastly, the quality is lacking with the slight bit of rust and the fact that I had stains on my coffee pot right out of the box.
Recommendation
Would I recommend the Stansport 8-Cup Enamel Percolator?
Well, I guess I can see why people might buy this percolator. It comes with 4 matching enamel mugs, which is a nice touch, it looks awesome, and there’s no glass or plastic perking knob that could break.
But if you’re like me, and you don’t need the enamel mugs, and you want to have a perking knob to see when the water starts boiling, then this is not a very good pick for a camping percolator.
For me, I’m not a big fan of this because it’s just not user-friendly enough, quality is not the best, and there’s not a lot of versatility with the capacity. I mean, I could percolate only 5 cups of coffee, no more and no less, it’s just too limited. Overall, cons outweigh the pros, and I don’t think that I could recommend this as the best camping percolator.
Bonus: Must Read!
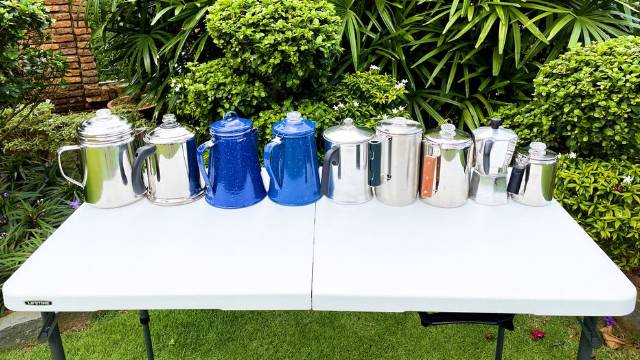
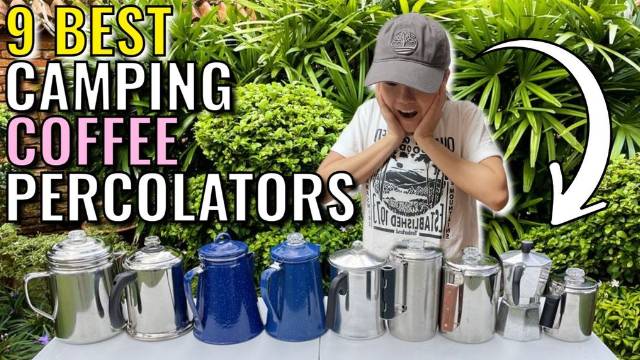
To find out which camping coffee percolator I actually recommend, you can click here: The 9 Best Camping Percolators: I Bought & Tested Them All.
Or, check out the Stansport Percolator: