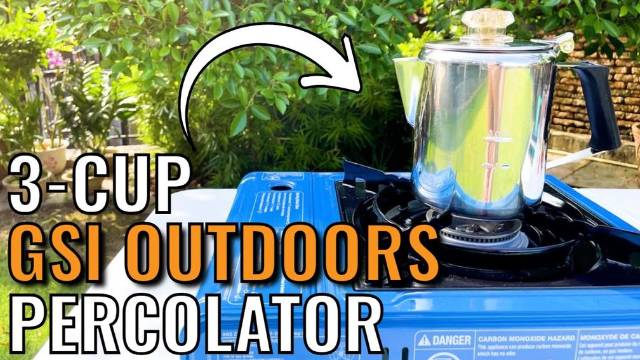
Camping percolators · Review
Farberware Yosemite Percolator Review (Bought & Tested!)
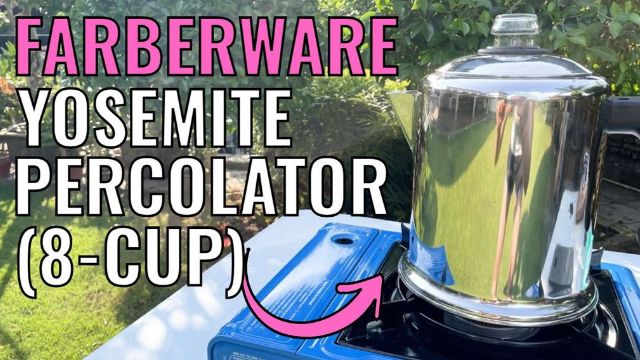
I bought this percolator with my own money and put it through 8 hands-on tests.
- Model 8-cup
- Max capacity 8 cups
- Min capacity 3 cups
- Material Stainless
This page contains affiliate links, and that means that I may earn a commission if you buy something, at no extra cost to you. You can find my full disclosure policy here.
Test scorecard
The Farberware Yosemite Percolator is great value for money, with a good quality stainless steel pot and inner percolator. It’s very user-friendly, I could brew anywhere between 3 and 8 cups, and it comes with a lifetime warranty. It isn’t the highest quality percolator on the market, but I got far more than I paid for.
- Very inexpensive for a stainless steel percolator
- Yet high quality and user-friendly
- Handle can get hot
- Glass knob not very thick
If you prefer watching to reading, check out my video here instead.
See the 8 tests
In the Box
It arrived in a really nice box, with every component neatly wrapped inside.

Here is everything that came in it:
- Stainless steel coffee pot with a removable lid
- Stem with base
- Spring
- Filter basket
- Spreader
- Perking knob with a plastic ring
- Instructions
Specifications
These are my own measurements:
- Height to the perking knob 8.5in
- Length, handle curve to spout 9.0in
- Handle height 4.5in
- Top diameter 5.5in
- Base diameter 6.25in
- Weight 27.4oz
- Made in China
How to Use
Here is the recipe I use:
- Water per cup 6oz
- Grounds per cup 10-11g (0.35-0.39oz)
- Grind CoarseMedium roast
Then I brew it like this:
- Pour the grounds into the filter basket.
- Drop in the stem, spring, filter basket and spreader, then close the lid.
- Bring the water to a boil on medium heat, and you can see it perking through the glass knob.
- Lower the heat to medium-low and percolate for 7 minutes, then turn it off.
- Let it sit a few minutes so the basket drains and the grounds settle.
Brew Time
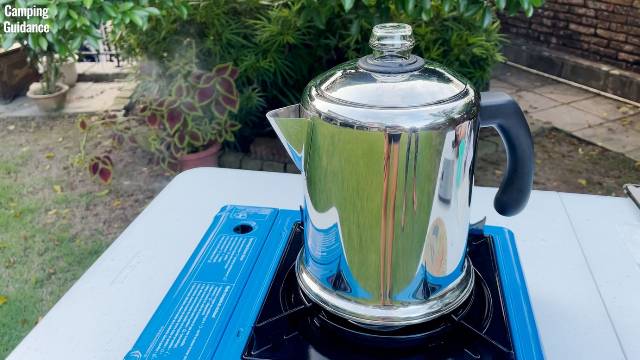
For brew time I measured the time to first perk, which is how long the water takes to start boiling.
| Water | Time to first perk |
|---|---|
| 3 cups (18oz) | 5 min |
| 6 cups (36oz) | 8 min 30 sec |
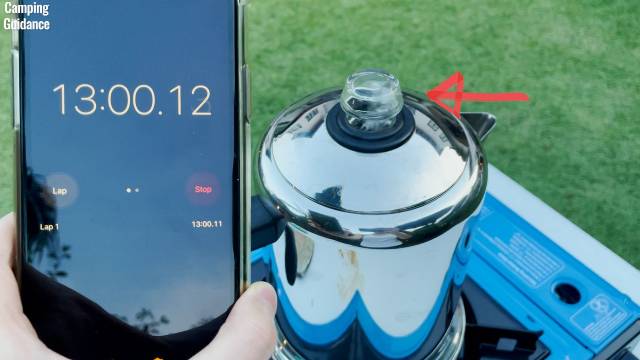
| 8 cups (48oz) | 13 min |
Capacity
- Marketed 8 cups
- Most coffee I could brew 8 cups (48oz)The water sits just below the spout hole and never boiled over

- Least coffee I could brew 3 cups (18oz)Farberware recommends at least 4, but 3 worked fine for me
- Filter basket holds 93g (3.3oz) of coarse groundsEnough for a full 8-cup brew
- Other sizes 12-cup
The marketed 8 cups turned out to be accurate at 6oz per cup. At 48oz the water sits just below the spout hole and it brewed without boiling over.
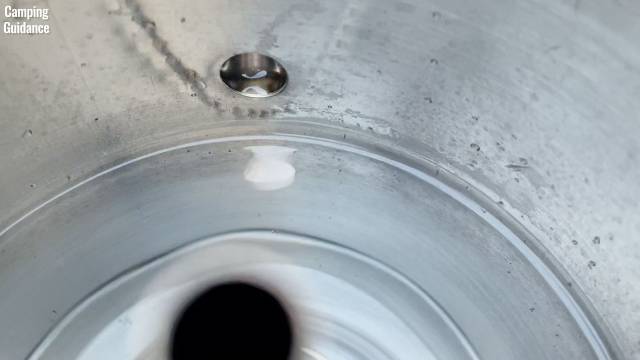
At the low end, 1 cup came out as water with grounds in it, because there wasn’t enough water to climb the stem.
2 cups looked and tasted diluted, and 3 cups brewed a genuinely tasty coffee.
So the real range is 3 to 8 cups, and that is the most versatile capacity of any percolator I own.
Ease of Use
There are 3 markings on the pot, though they sit just behind the handle, which is an odd placement.
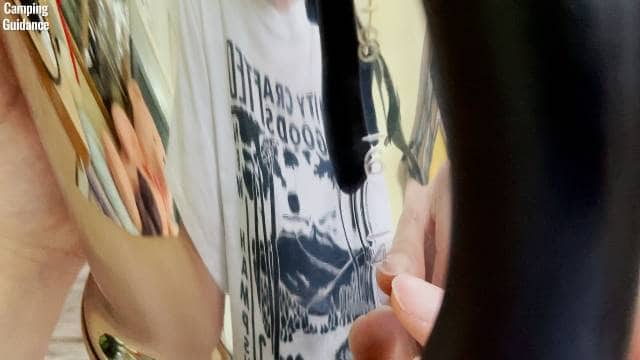
They’re clear from the inside in good light, but get hard to read as you turn the pot. Here’s what each one actually holds:
- “4 cups” marking 28oz
- “6 cups” marking 40oz
- “8 cups” marking 52ozThis is the water level touching the bottom of the spout hole
Those markings run generous against my 6oz cup, so I go by measured water rather than the marks.
The handle is nicely sized and comfortable, but not the most heat-resistant, so the section nearest the pot gets warm and sometimes hot. Farberware themselves say the handles may get hot and to use potholders.
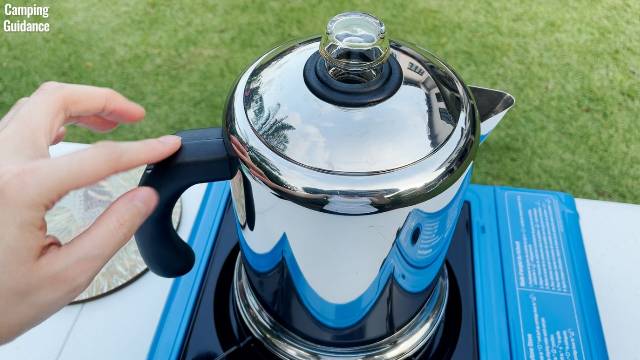
The transparent perking knob shows you when the water starts boiling and how dark the coffee is getting, and the wide base keeps it sturdy on the stove.

The lid has 3 small protrusions that hold it tightly on the pot, so I never have to hold it down while pouring. It was very tight when new and has loosened a little since.
A coarse grind left only a very minimal amount of grounds in my last cup, helped by a spring under the filter basket that presses it up against the lid.
Clean Up
I toss the grounds and run water through every component, and they all come apart easily for a proper wash. Percolating plain water shifts the coffee oils best.
It’s mostly dishwasher safe too, except for the perking knob and the spring.
One quirk: the lip of the pot is rolled inwards, so water gets trapped in it when you stand the pot upside down to dry.
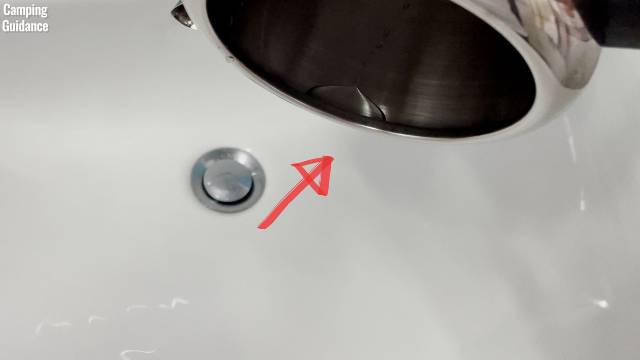
Pro Tip Drain as much as you can through the spout; the hole is a little small but it works. A towel or a few minutes of air drying handles the rest.
Quality
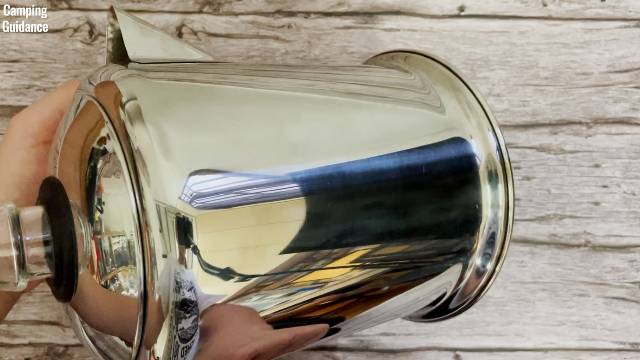
- Pot and lid Stainless steelMirror finish outside
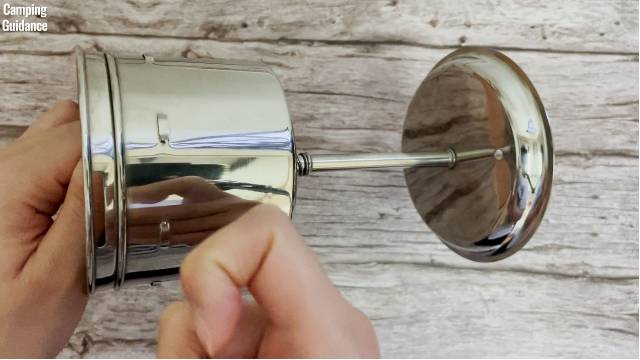
- Stem, basket and spreader The same stainless steel
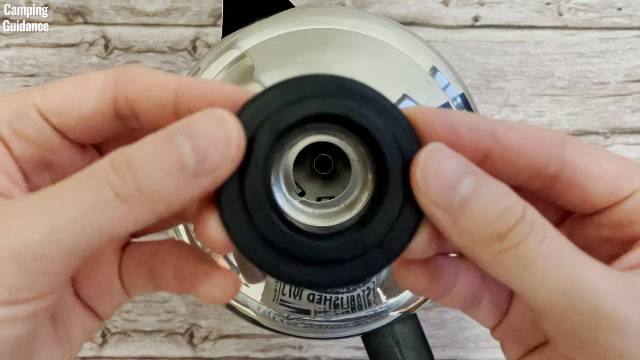
- Perking knob Glass, under 2mm thickHeld in place by a plastic ring
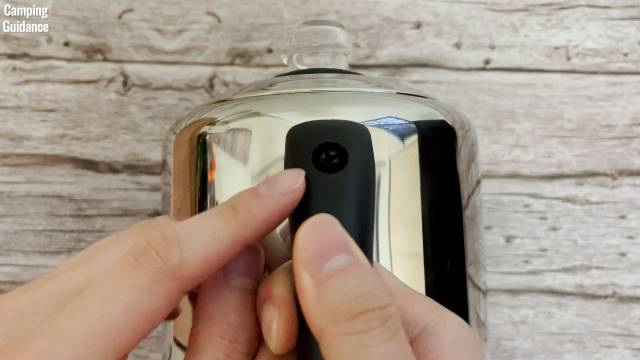
- Handle Hard plastic4 welds on the inside, plus a tightening screw
- Warranty Lifetime
The finish is good inside and out, with barely any staining.
The inner components are sturdy, and with the lid closed the percolator sits so firmly inside the pot that it makes no sound at all when I shake it.
The glass knob is thinner than I’d like. A plastic ring holds it in place, and you can’t screw the knob in tightly without it, but the plastic never touches the hot coffee, and mine has never worked loose.
The handle is firmly welded on and has never loosened, though there’s a screw on the outside for tightening it if it does.
I’d prefer the base to be one solid piece of steel rather than two welded together, but I’ve had no leaking. No rust either, the glass knob is intact, and the lid has loosened slightly from new but still works well.
Pros and Cons
Now, what are the pros and cons, and would I recommend the Farberware Yosemite Percolator?
A great stainless steel build for the money
This is by far the least expensive stainless steel percolator I own, and the build and finish don’t show it.
The most versatile capacity I tested
I brewed a genuine 3 to 8 cups, enough for one person or a whole family, and an accurate marketed figure is rare in this category.
User-friendly and feature-rich
You get:
- Cup-level markings.
- A glass perking knob.
- A tight-fitting lid, so you never hold it down while pouring.
- A sprung filter basket that keeps grounds out of the coffee.
- Mostly dishwasher-safe parts.
A lifetime warranty
On a percolator this inexpensive, that’s remarkable value.
The handle gets hot
The section nearest the pot gets warm and sometimes hot on higher heat or a larger flame. Farberware say to use potholders.
The glass knob is thin
At under 2mm it’s thinner than I’d like, and a thicker one would last longer. For comparison, the glass knob on my Coleman 12-Cup Percolator is 3.5mm, the thickest of the nine.
Overall recommendation
I was blown away by how much percolator I got for the money. For its size this is one of my least expensive percolators, and by far the least expensive stainless steel one I own.
Even so the build and finish are good, it’s extremely user-friendly, and the 3 to 8 cup range gives me more capacity versatility than any other percolator I’ve tested.
On top of that the Farberware Yosemite Percolator carries a lifetime warranty. On value for money it beats every other percolator I own, hands down.
Bonus: Must Read!
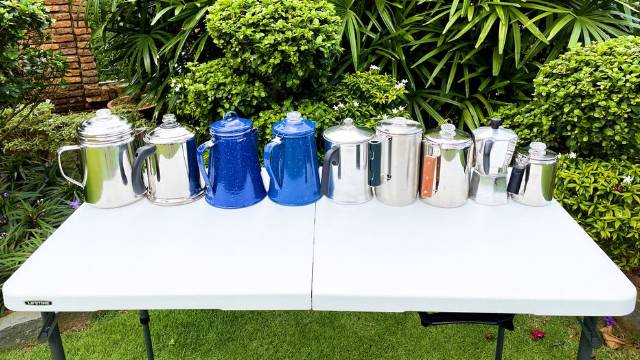
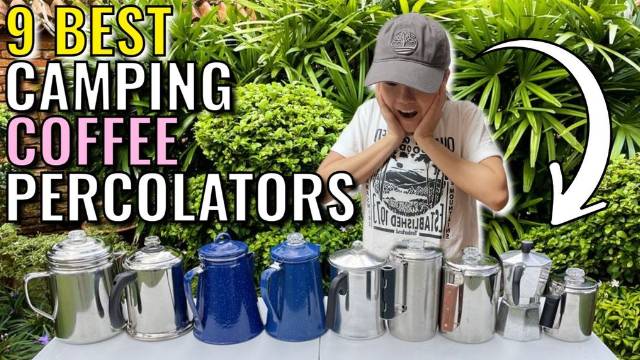
I know this because I tested the Farberware against 8 other camping percolators. Check out my Best Camping Percolators article to see how they compare.
Or, check out the Farberware Percolator:
I measured every number on this page myself.